> ## Documentation Index
> Fetch the complete documentation index at: https://docs.noimosai.com/llms.txt
> Use this file to discover all available pages before exploring further.

# Team App Integrations

> Connect app accounts at Team scope and assign them to Workspaces and agents.

## Overview

Use Team integrations to connect external app accounts once, then route those accounts to the Workspaces and agents that need them.

This is the handoff point between human setup and autonomous execution:

* Human: connect accounts and control where they are available.
* AI agents: autonomously use connected accounts to retrieve data and perform permitted actions.
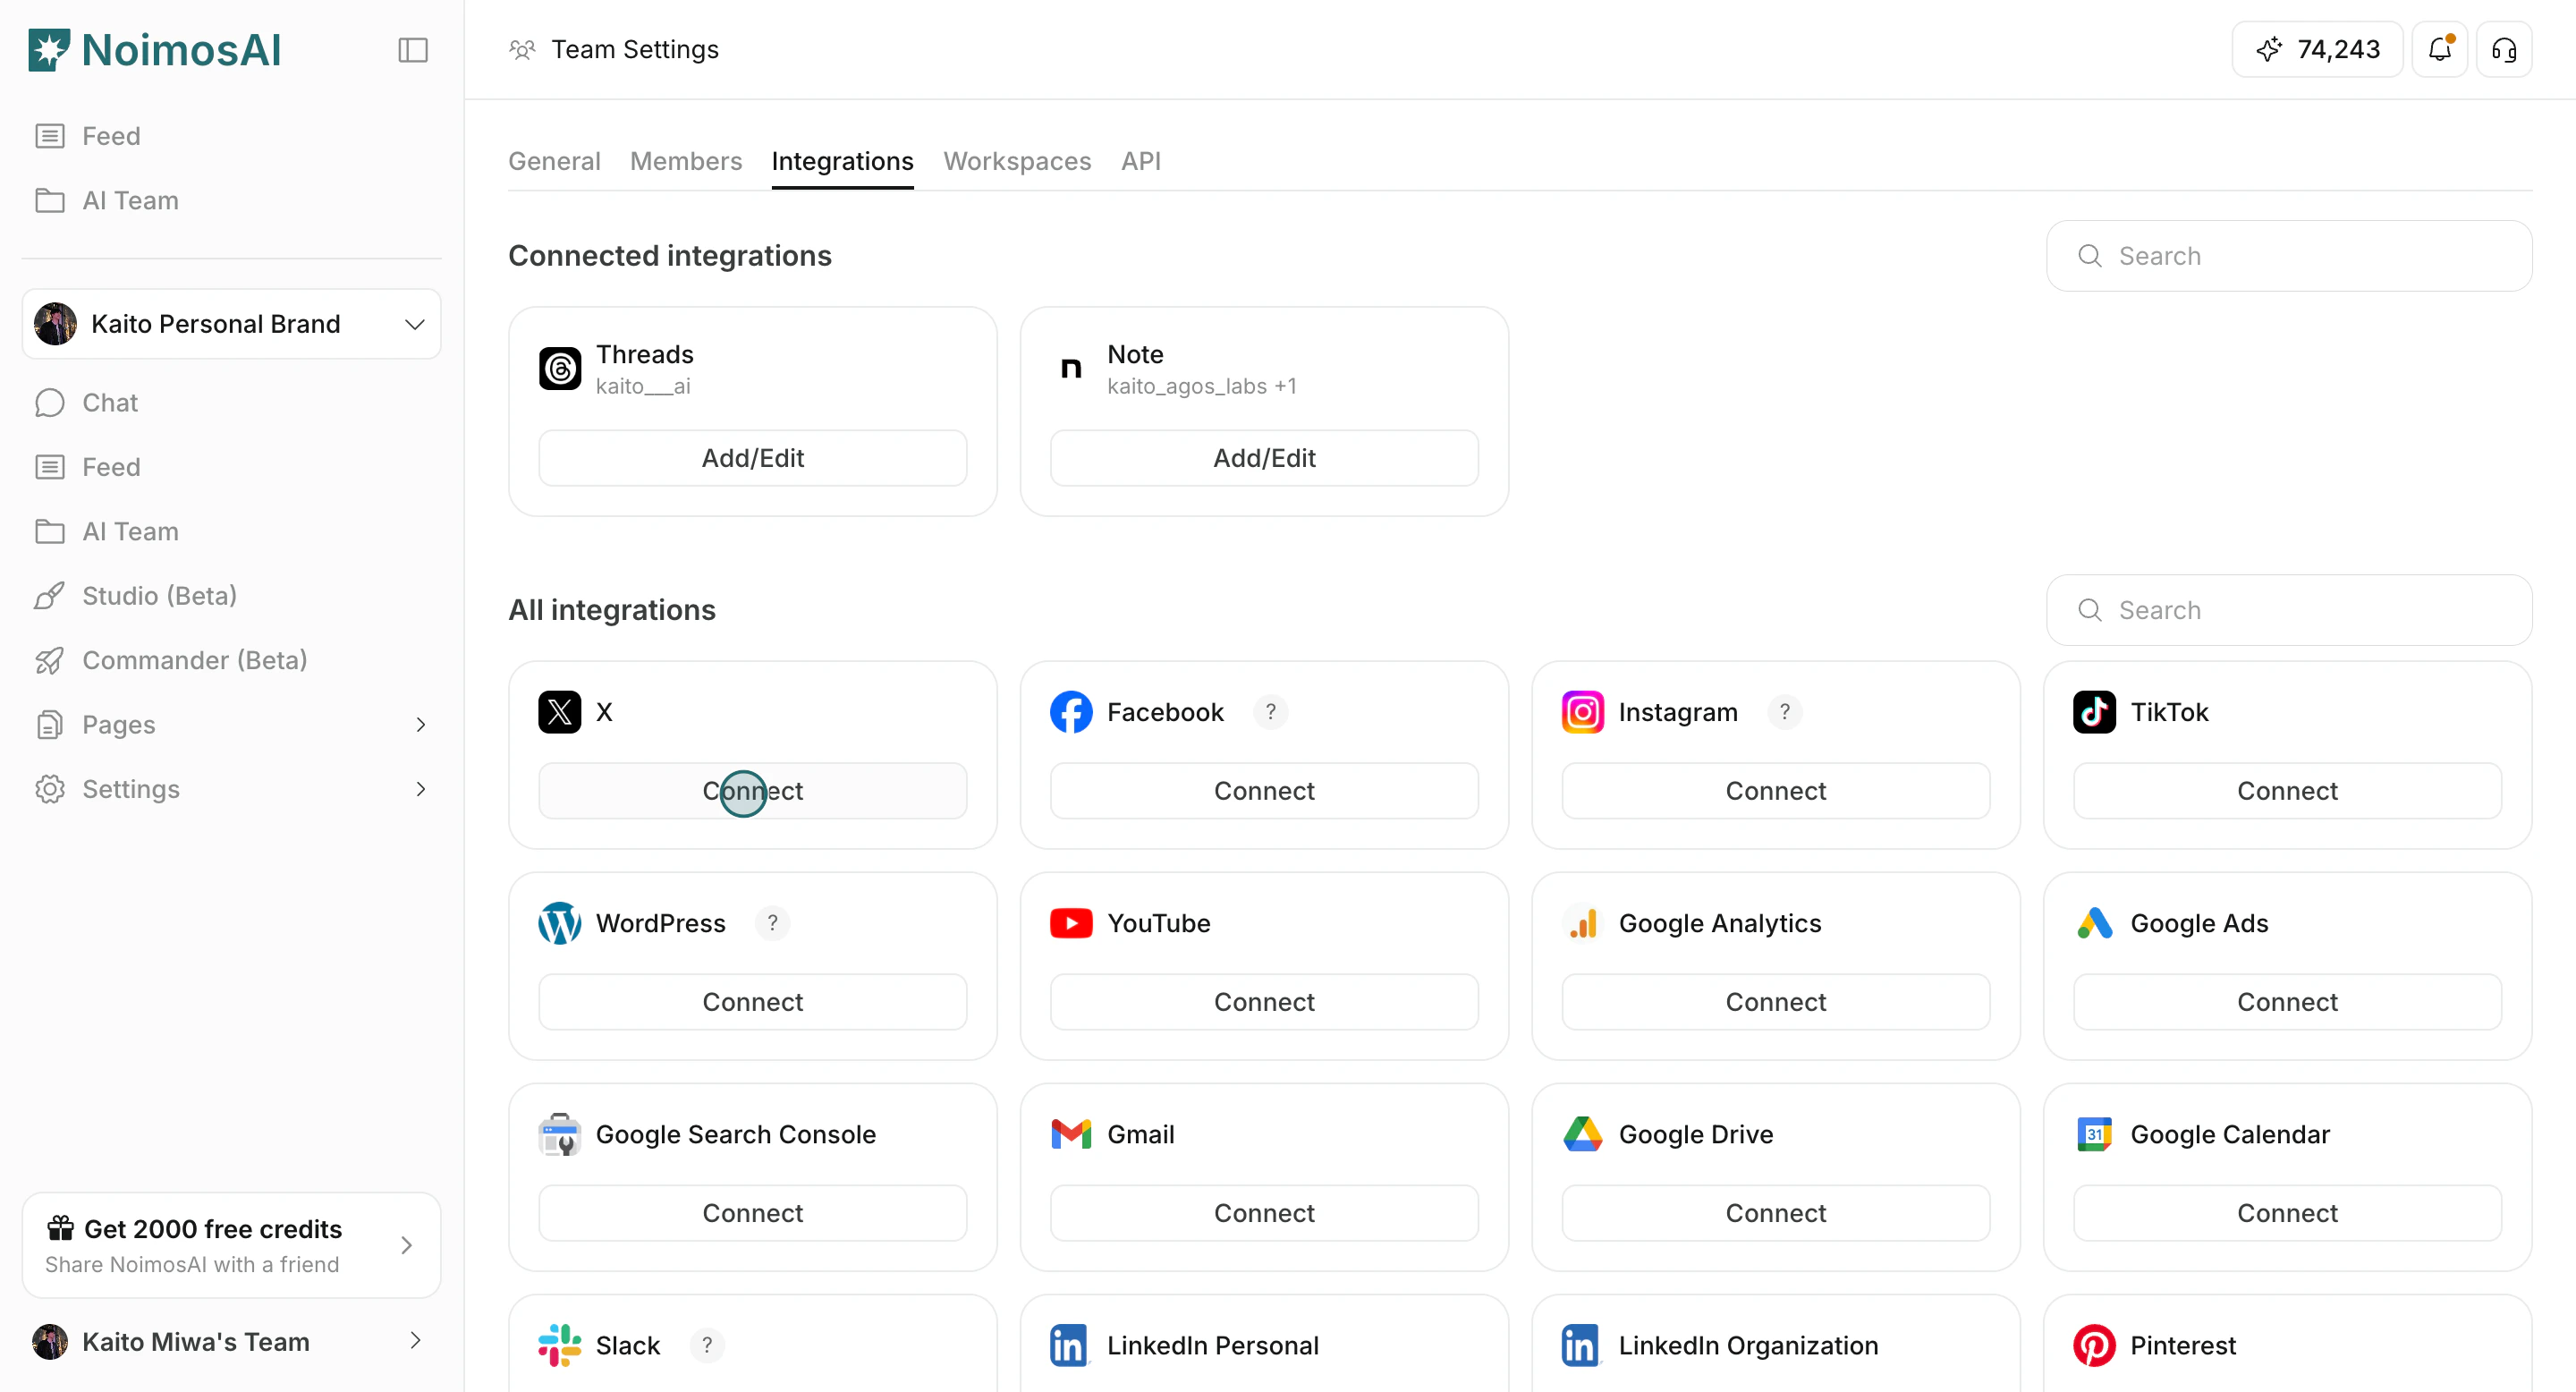
## Where To Find

Use the following path to open this area.

1. Open `Team Settings`.
2. Select the `Integrations` tab.

<img src="https://mintcdn.com/agoslabstechnologiesfzco/LDZN9knKW8aRsRmG/public/help-center/arcade/team-settings/integrate-apps/step-04.png?fit=max&auto=format&n=LDZN9knKW8aRsRmG&q=85&s=8bdd96a2886dd2e5ff1902bb80548fe8" alt="Integrations tab in Team Settings" style={{ border: '1px solid #e5e7eb', borderRadius: '8px', marginBottom: '2rem' }} width="2880" height="1552" data-path="public/help-center/arcade/team-settings/integrate-apps/step-04.png" />

## Connect An App Account

Use this section to understand connect an app account and what to confirm while completing this part.

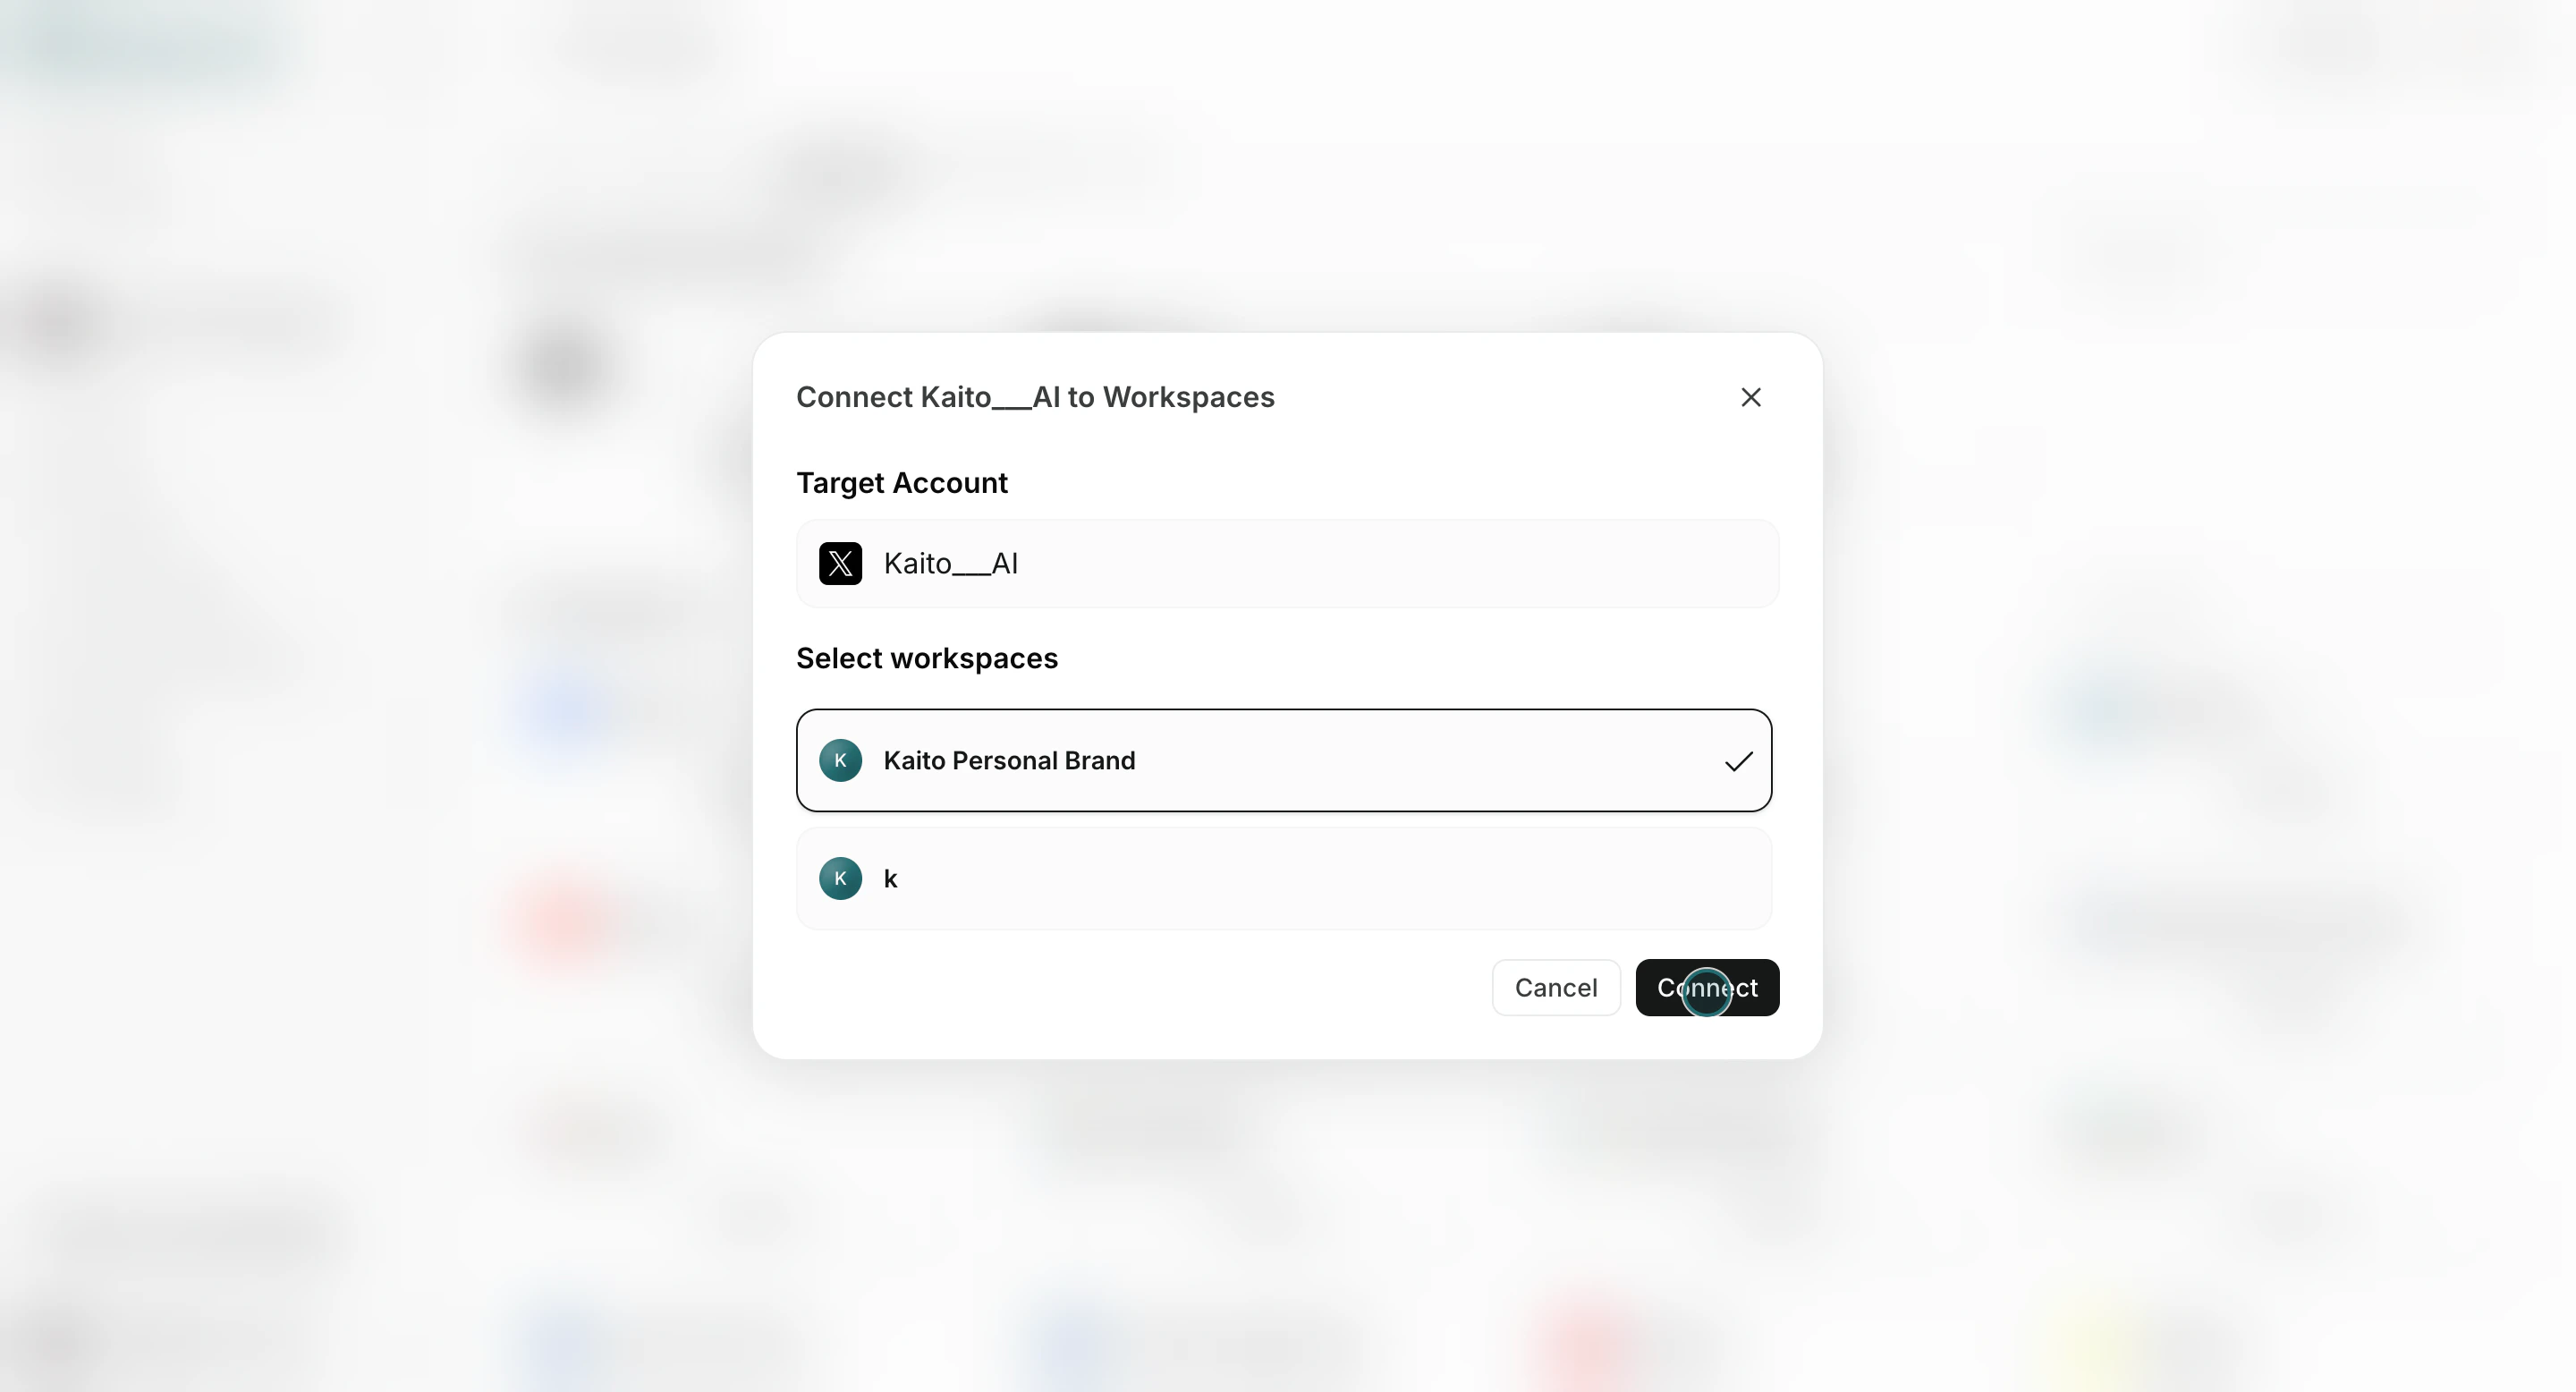
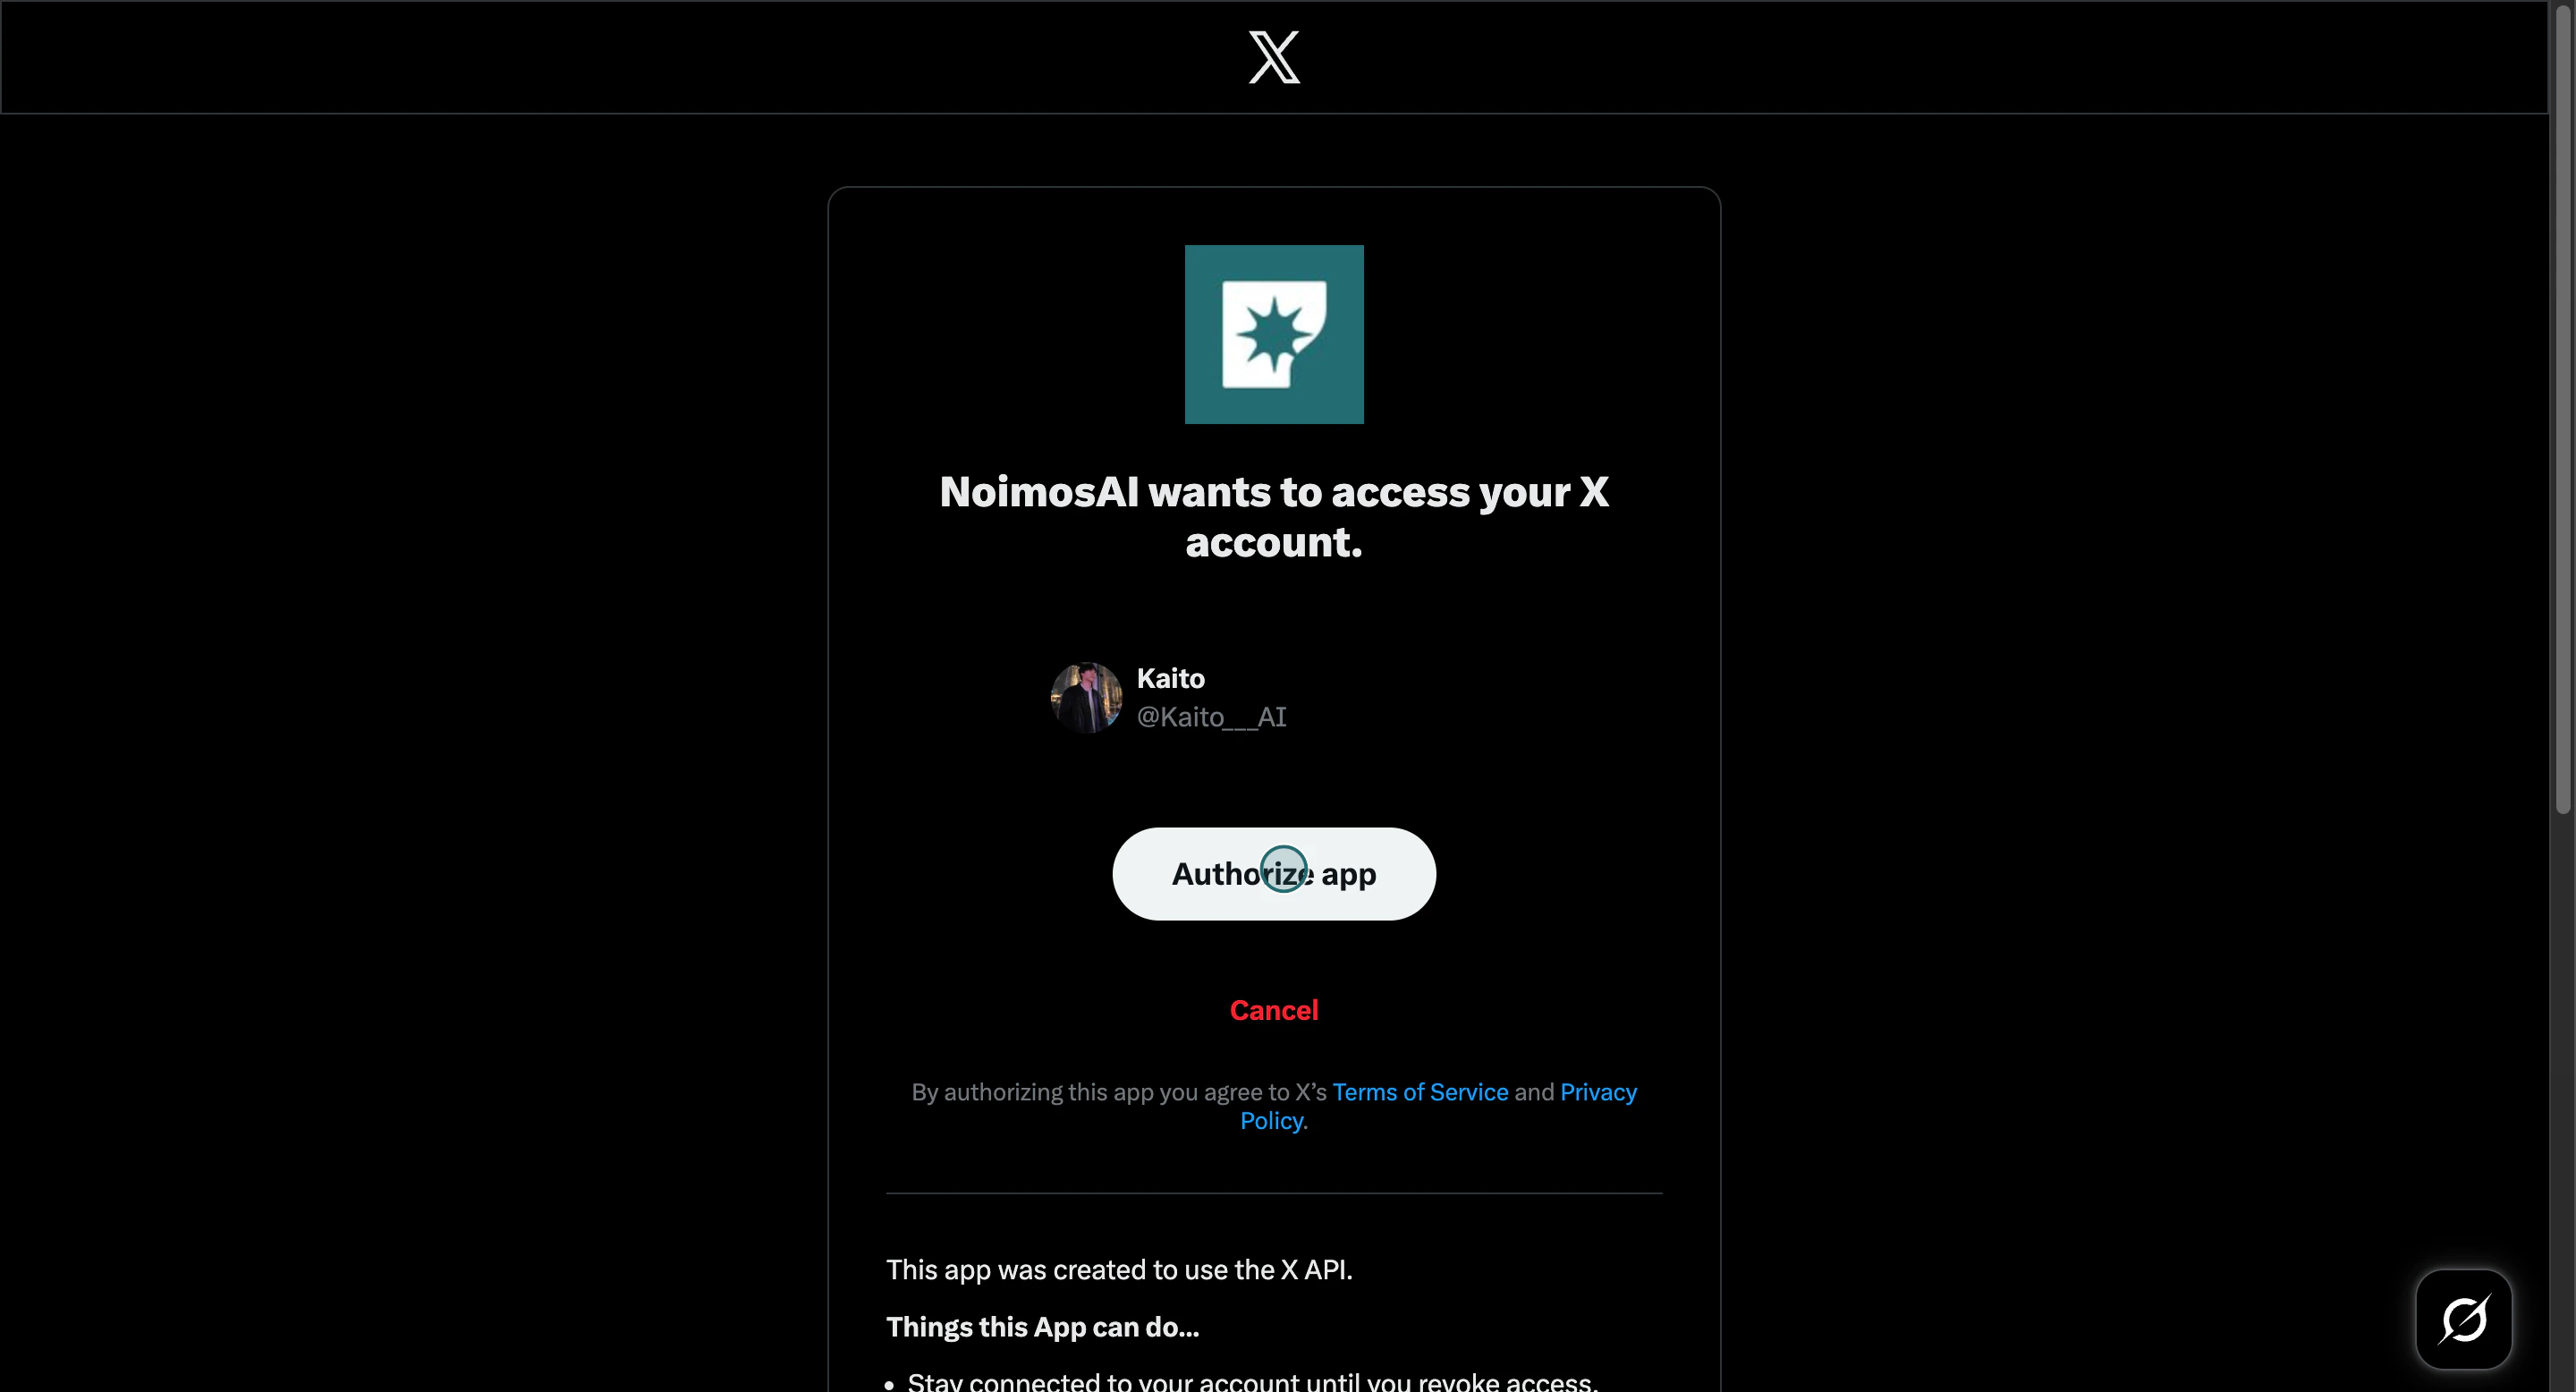
1. Choose an app and click `Connect` or `Add another account`.

<img src="https://mintcdn.com/agoslabstechnologiesfzco/okAbFobT9iaP0HDF/public/help-center/arcade/team-settings/integrate-apps/step-05.png?fit=max&auto=format&n=okAbFobT9iaP0HDF&q=85&s=3e7dd782e6ae76a5eb2ec009f54503a5" alt="Choose an app and click Connect" style={{ border: '1px solid #e5e7eb', borderRadius: '8px', marginBottom: '1rem' }} width="2880" height="1556" data-path="public/help-center/arcade/team-settings/integrate-apps/step-05.png" />

2. Complete provider authorization.

<img src="https://mintcdn.com/agoslabstechnologiesfzco/sJdmjfp2ISewecG_/public/help-center/arcade/team-settings/integrate-apps/step-07.png?fit=max&auto=format&n=sJdmjfp2ISewecG_&q=85&s=a9f5e6c626d96188086c2bf748209a31" alt="Authorize app connection for team integrations" style={{ border: '1px solid #e5e7eb', borderRadius: '8px', marginBottom: '1rem' }} width="2880" height="1556" data-path="public/help-center/arcade/team-settings/integrate-apps/step-07.png" />

3. Select one or more Workspaces for that account.

<img src="https://mintcdn.com/agoslabstechnologiesfzco/okAbFobT9iaP0HDF/public/help-center/arcade/team-settings/integrate-apps/step-09.png?fit=max&auto=format&n=okAbFobT9iaP0HDF&q=85&s=138657960fb2ddb6ef5d6d6c8b8d4d1d" alt="Select target workspaces for the connected account" style={{ border: '1px solid #e5e7eb', borderRadius: '8px', marginBottom: '1rem' }} width="2880" height="1556" data-path="public/help-center/arcade/team-settings/integrate-apps/step-09.png" />

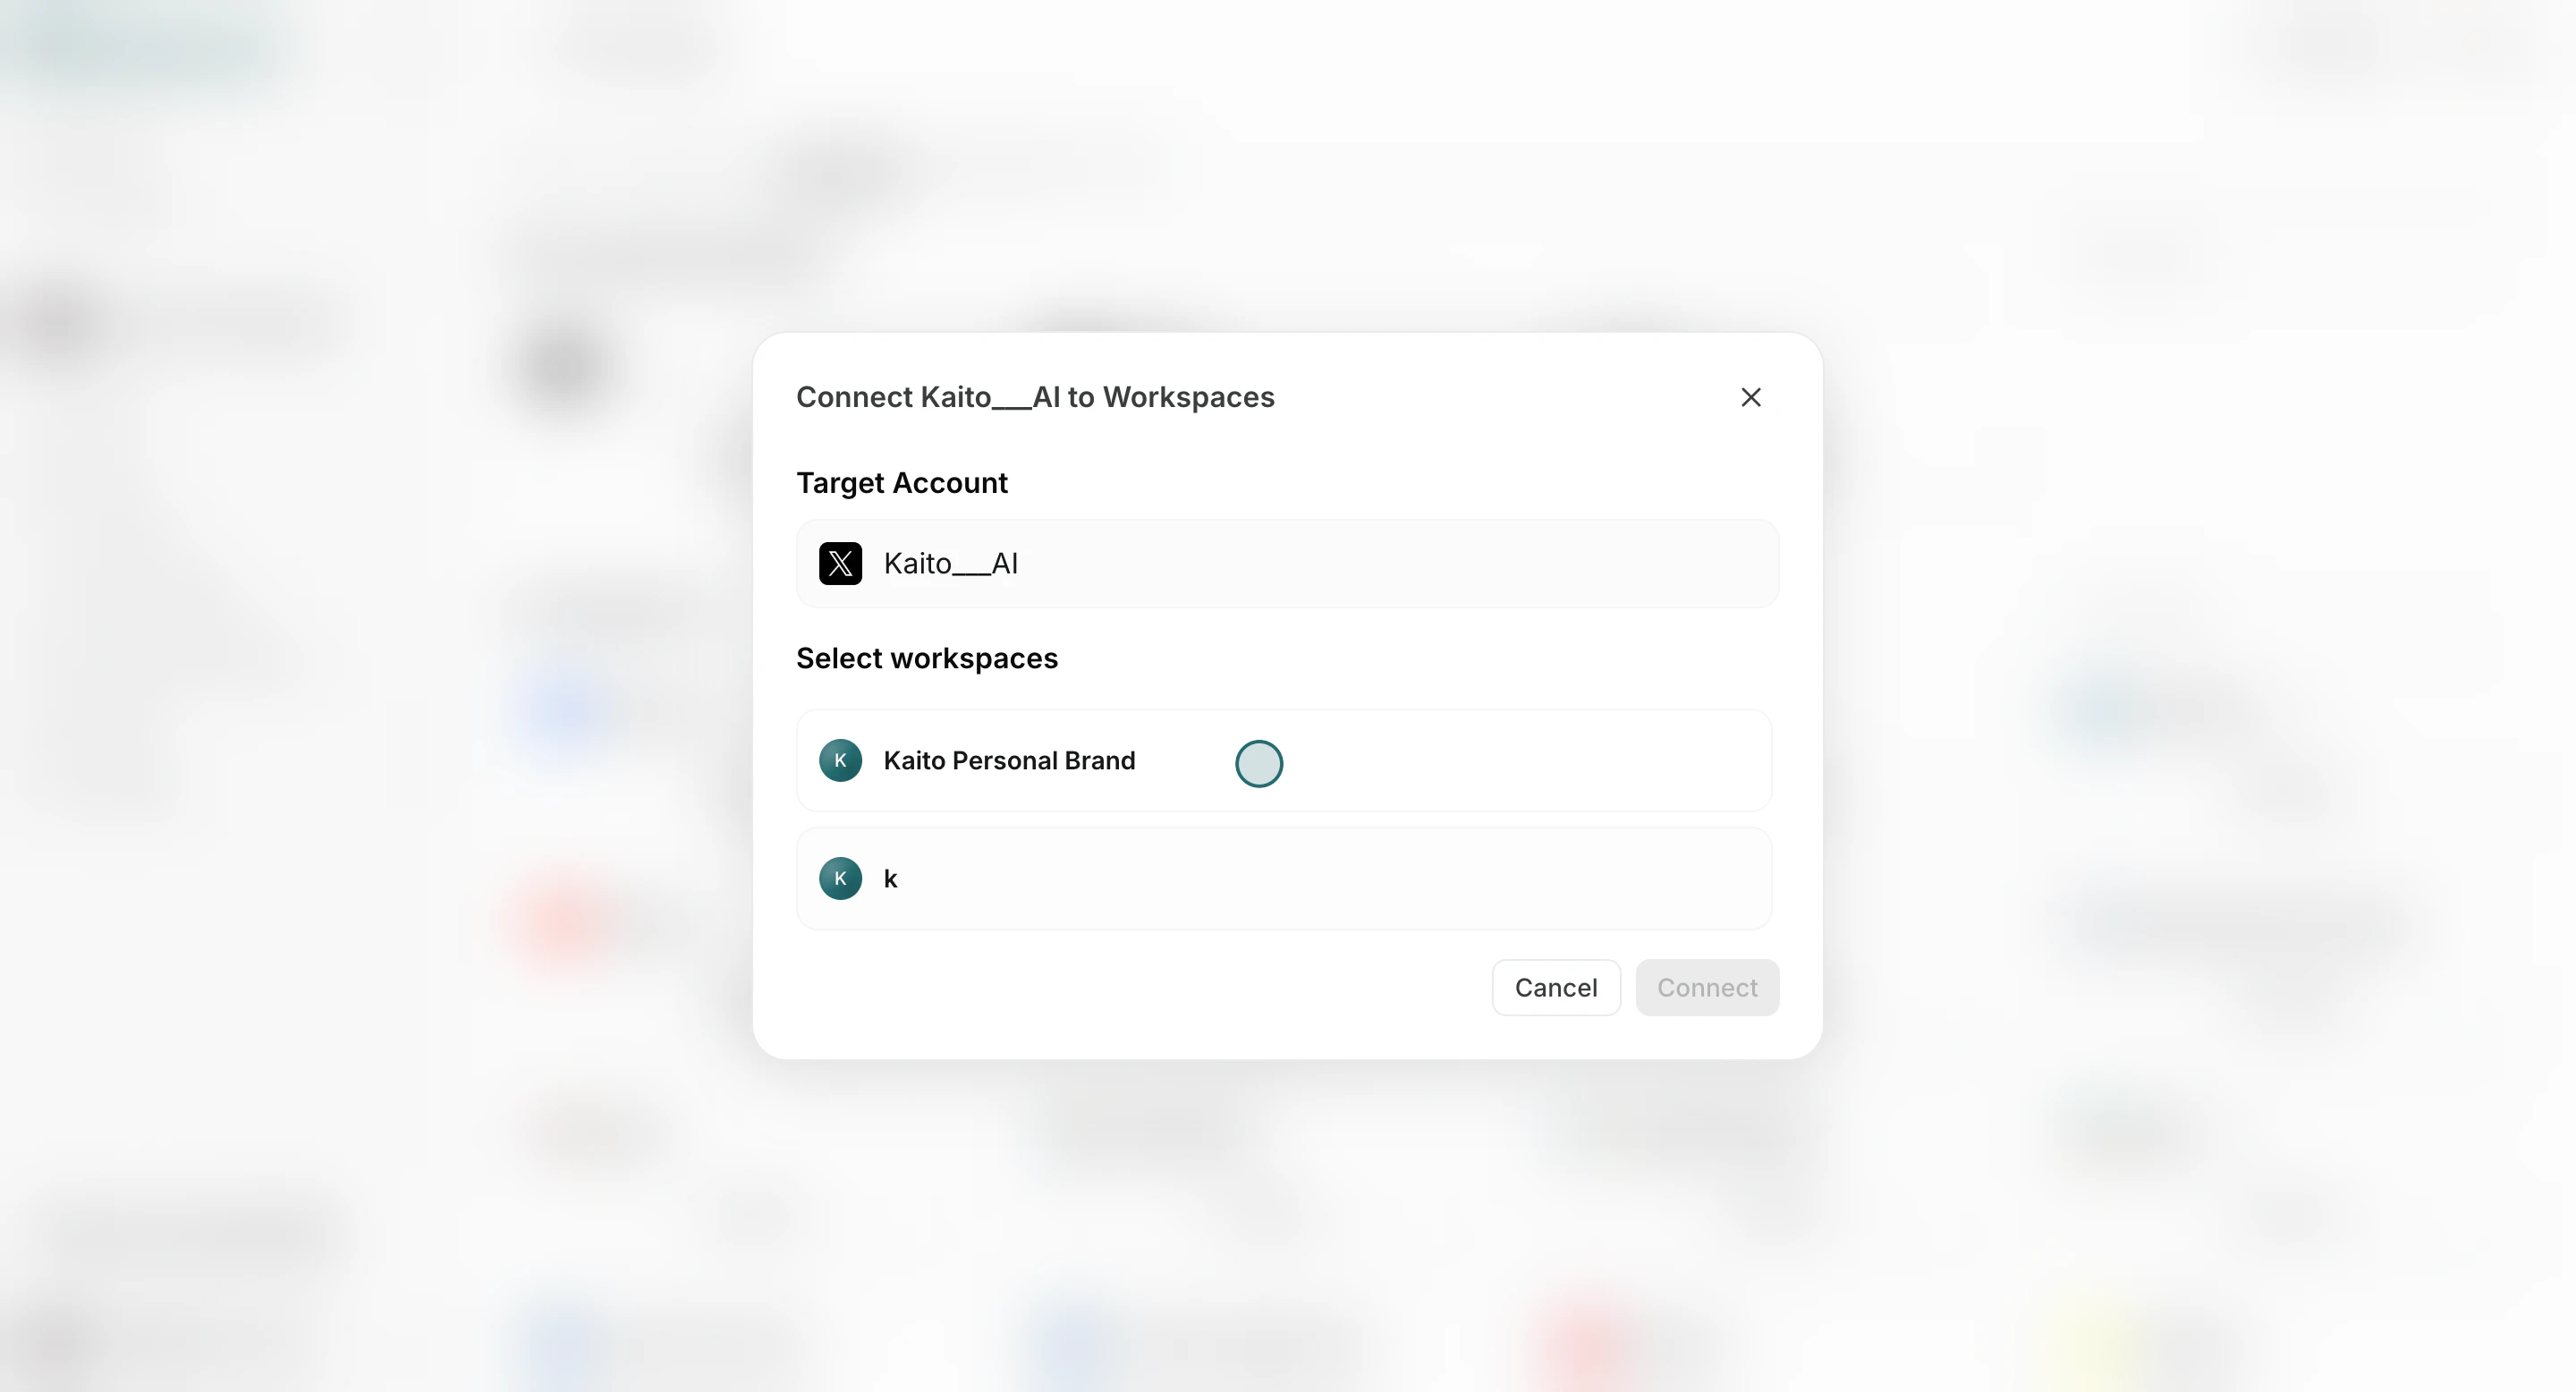
4. Confirm with `Connect`.

<img src="https://mintcdn.com/agoslabstechnologiesfzco/sJdmjfp2ISewecG_/public/help-center/arcade/team-settings/integrate-apps/step-10.png?fit=max&auto=format&n=sJdmjfp2ISewecG_&q=85&s=250fc21af78c2faf43b6f05da3d6ef12" alt="Confirm account connection to selected workspace" style={{ border: '1px solid #e5e7eb', borderRadius: '8px', marginBottom: '2rem' }} width="2880" height="1556" data-path="public/help-center/arcade/team-settings/integrate-apps/step-10.png" />

## Connect The Account To Agents

Use this section to understand connect the account to agents and what to confirm while completing this part.

1. Open `Add/Edit` for a connected account.

<img src="https://mintcdn.com/agoslabstechnologiesfzco/okAbFobT9iaP0HDF/public/help-center/arcade/team-settings/integrate-apps/step-13.png?fit=max&auto=format&n=okAbFobT9iaP0HDF&q=85&s=d220c26b84b426a5f333e7bc8bbb0fda" alt="Open Add or Edit for a connected account" style={{ border: '1px solid #e5e7eb', borderRadius: '8px', marginBottom: '1rem' }} width="2880" height="1556" data-path="public/help-center/arcade/team-settings/integrate-apps/step-13.png" />

2. Click `Connect to Agent`.

<img src="https://mintcdn.com/agoslabstechnologiesfzco/sJdmjfp2ISewecG_/public/help-center/arcade/team-settings/integrate-apps/step-14.png?fit=max&auto=format&n=sJdmjfp2ISewecG_&q=85&s=37f4d5931a779bf4de498f4b09065907" alt="Open connect to agent from integration account actions" style={{ border: '1px solid #e5e7eb', borderRadius: '8px', marginBottom: '1rem' }} width="2880" height="1556" data-path="public/help-center/arcade/team-settings/integrate-apps/step-14.png" />

3. Select agents and save.

<img src="https://mintcdn.com/agoslabstechnologiesfzco/okAbFobT9iaP0HDF/public/help-center/arcade/team-settings/integrate-apps/step-12.png?fit=max&auto=format&n=okAbFobT9iaP0HDF&q=85&s=a6f64c3b423265ca6d74cc2c75e6c79a" alt="Save agent connection settings" style={{ border: '1px solid #e5e7eb', borderRadius: '8px', marginBottom: '2rem' }} width="2880" height="1556" data-path="public/help-center/arcade/team-settings/integrate-apps/step-12.png" />

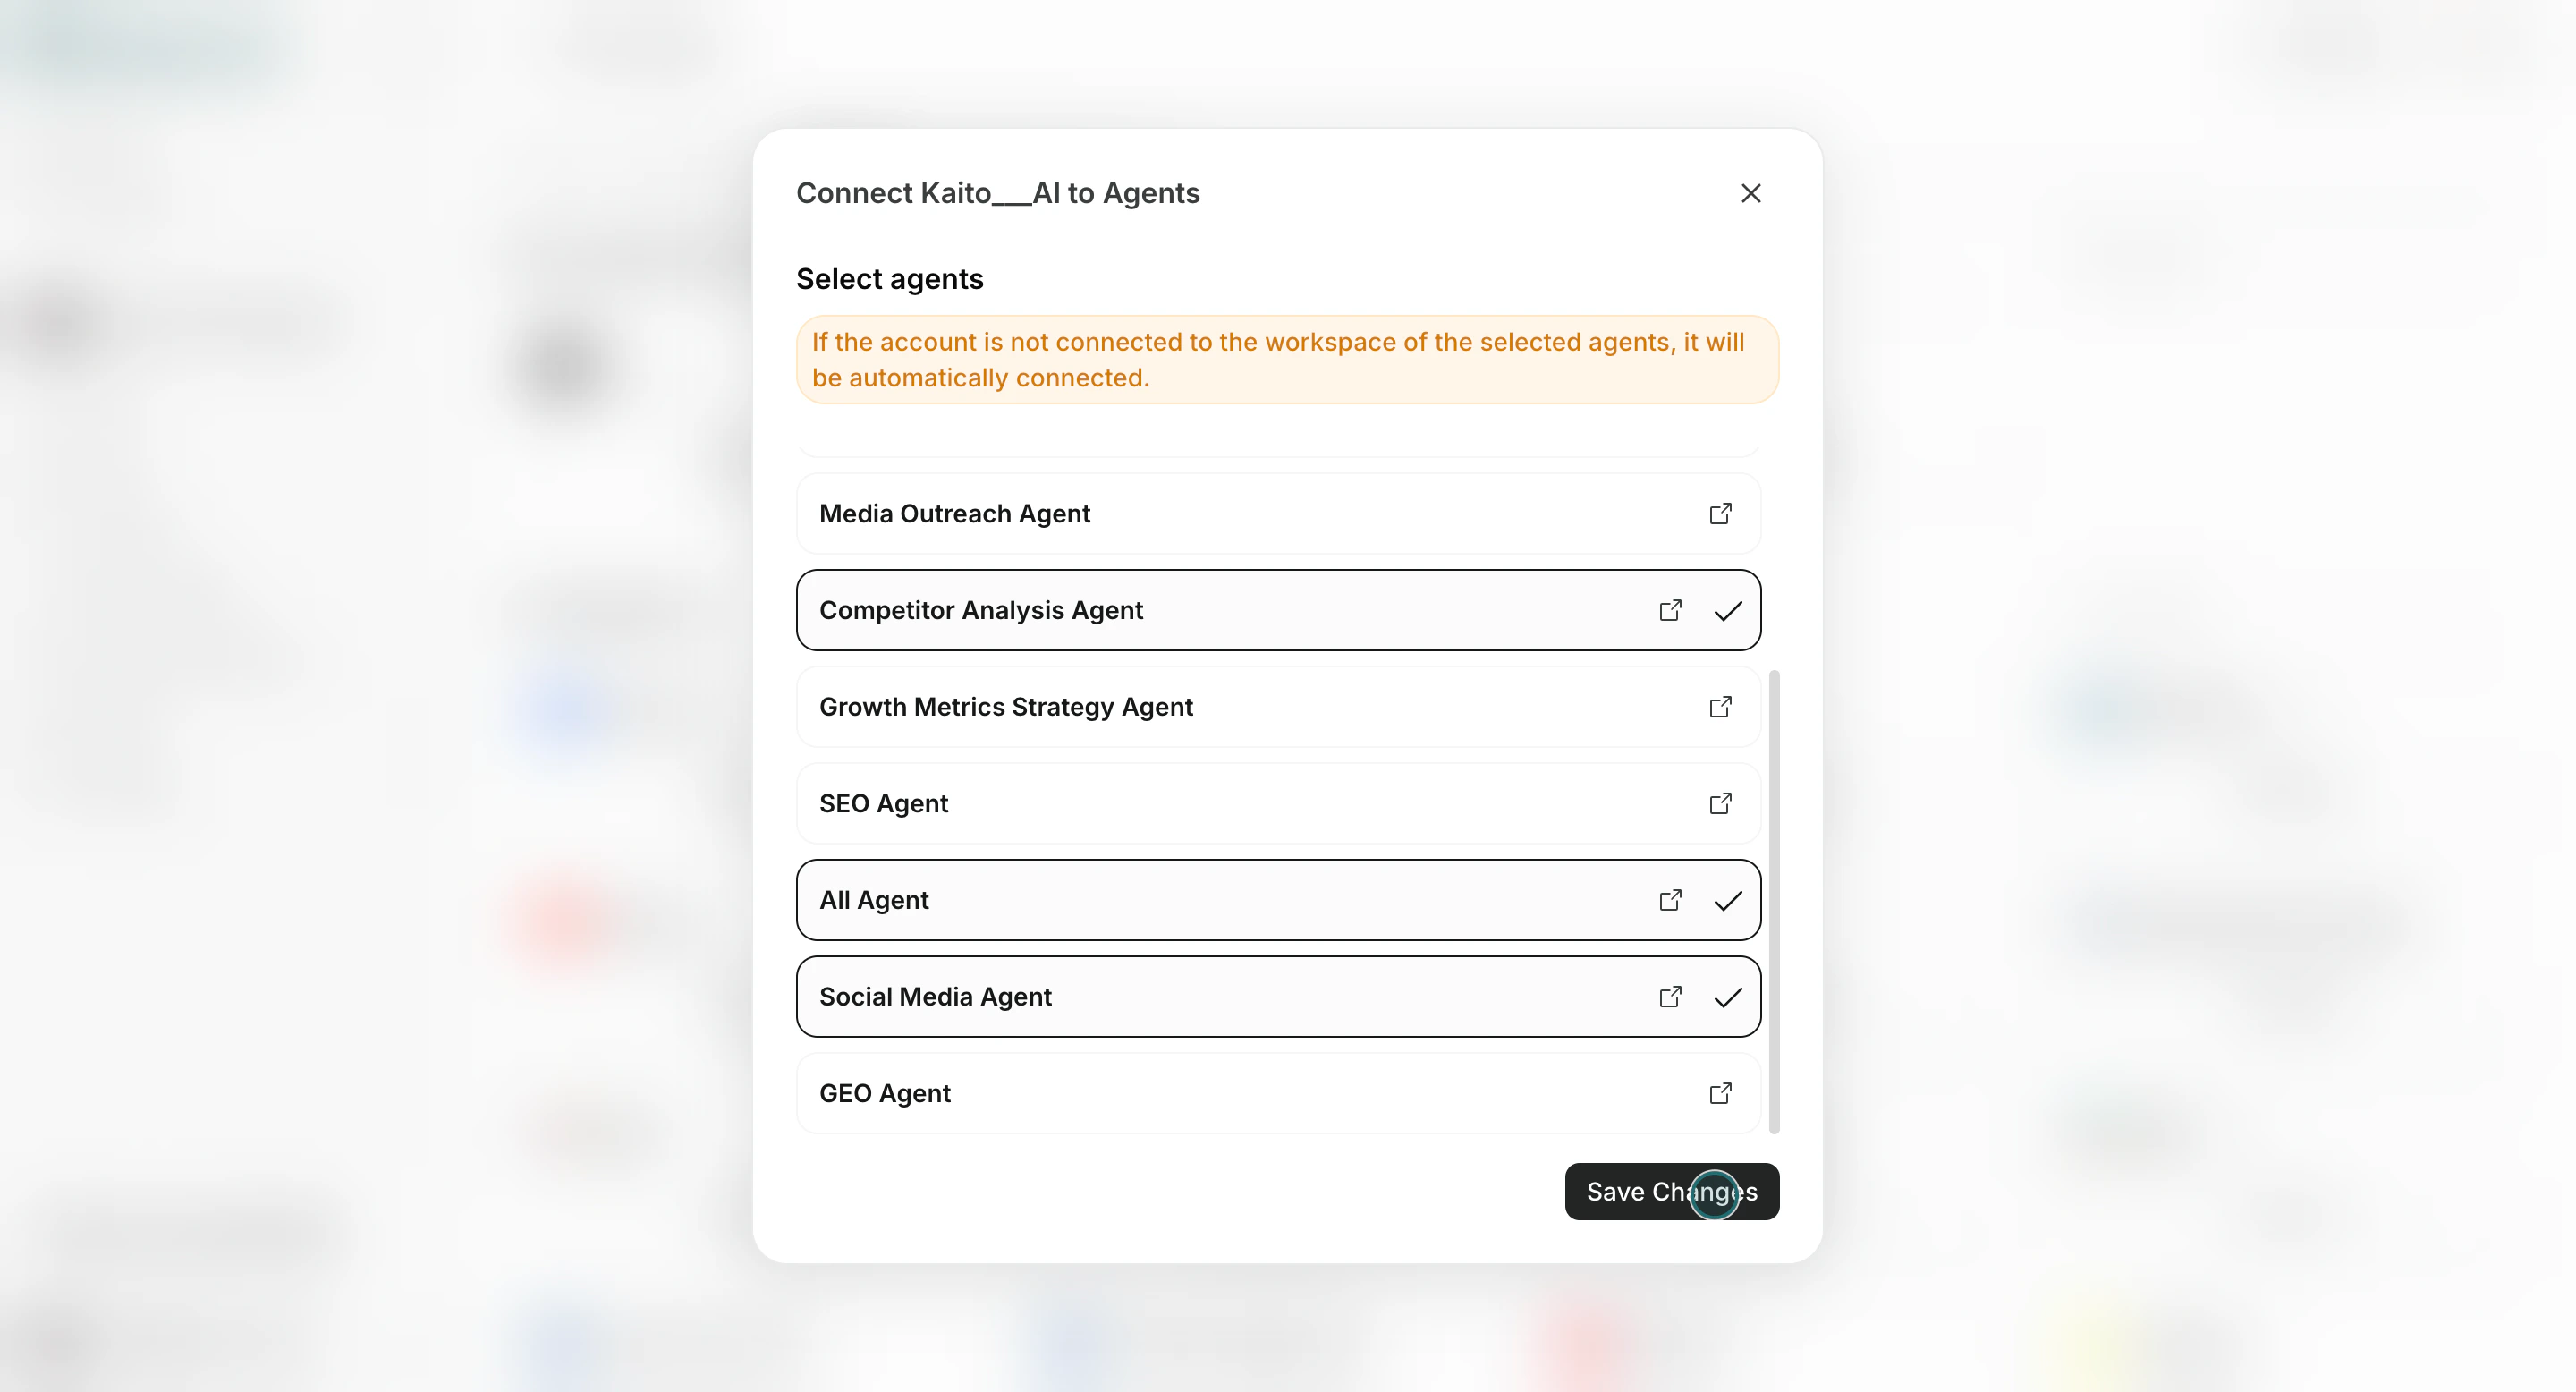
If an account is not yet connected to a selected agent's Workspace, NoimosAI connects it to that Workspace automatically.

## Ongoing Management

Use this section to understand ongoing management and what to confirm while completing this part.

1. Use `Add/Edit` to update assignments.

<img src="https://mintcdn.com/agoslabstechnologiesfzco/okAbFobT9iaP0HDF/public/help-center/arcade/team-settings/integrate-apps/step-13.png?fit=max&auto=format&n=okAbFobT9iaP0HDF&q=85&s=d220c26b84b426a5f333e7bc8bbb0fda" alt="Add or edit account assignments" style={{ border: '1px solid #e5e7eb', borderRadius: '8px', marginBottom: '1rem' }} width="2880" height="1556" data-path="public/help-center/arcade/team-settings/integrate-apps/step-13.png" />

2. Reconnect accounts when reauthorization is required.

<img src="https://mintcdn.com/agoslabstechnologiesfzco/okAbFobT9iaP0HDF/public/help-center/arcade/team-settings/integrate-apps/step-15.png?fit=max&auto=format&n=okAbFobT9iaP0HDF&q=85&s=bbe94a7d07f0fb3e220fe7bd8e15dba7" alt="Reconnect an app account" style={{ border: '1px solid #e5e7eb', borderRadius: '8px', marginBottom: '1rem' }} width="2880" height="1556" data-path="public/help-center/arcade/team-settings/integrate-apps/step-15.png" />

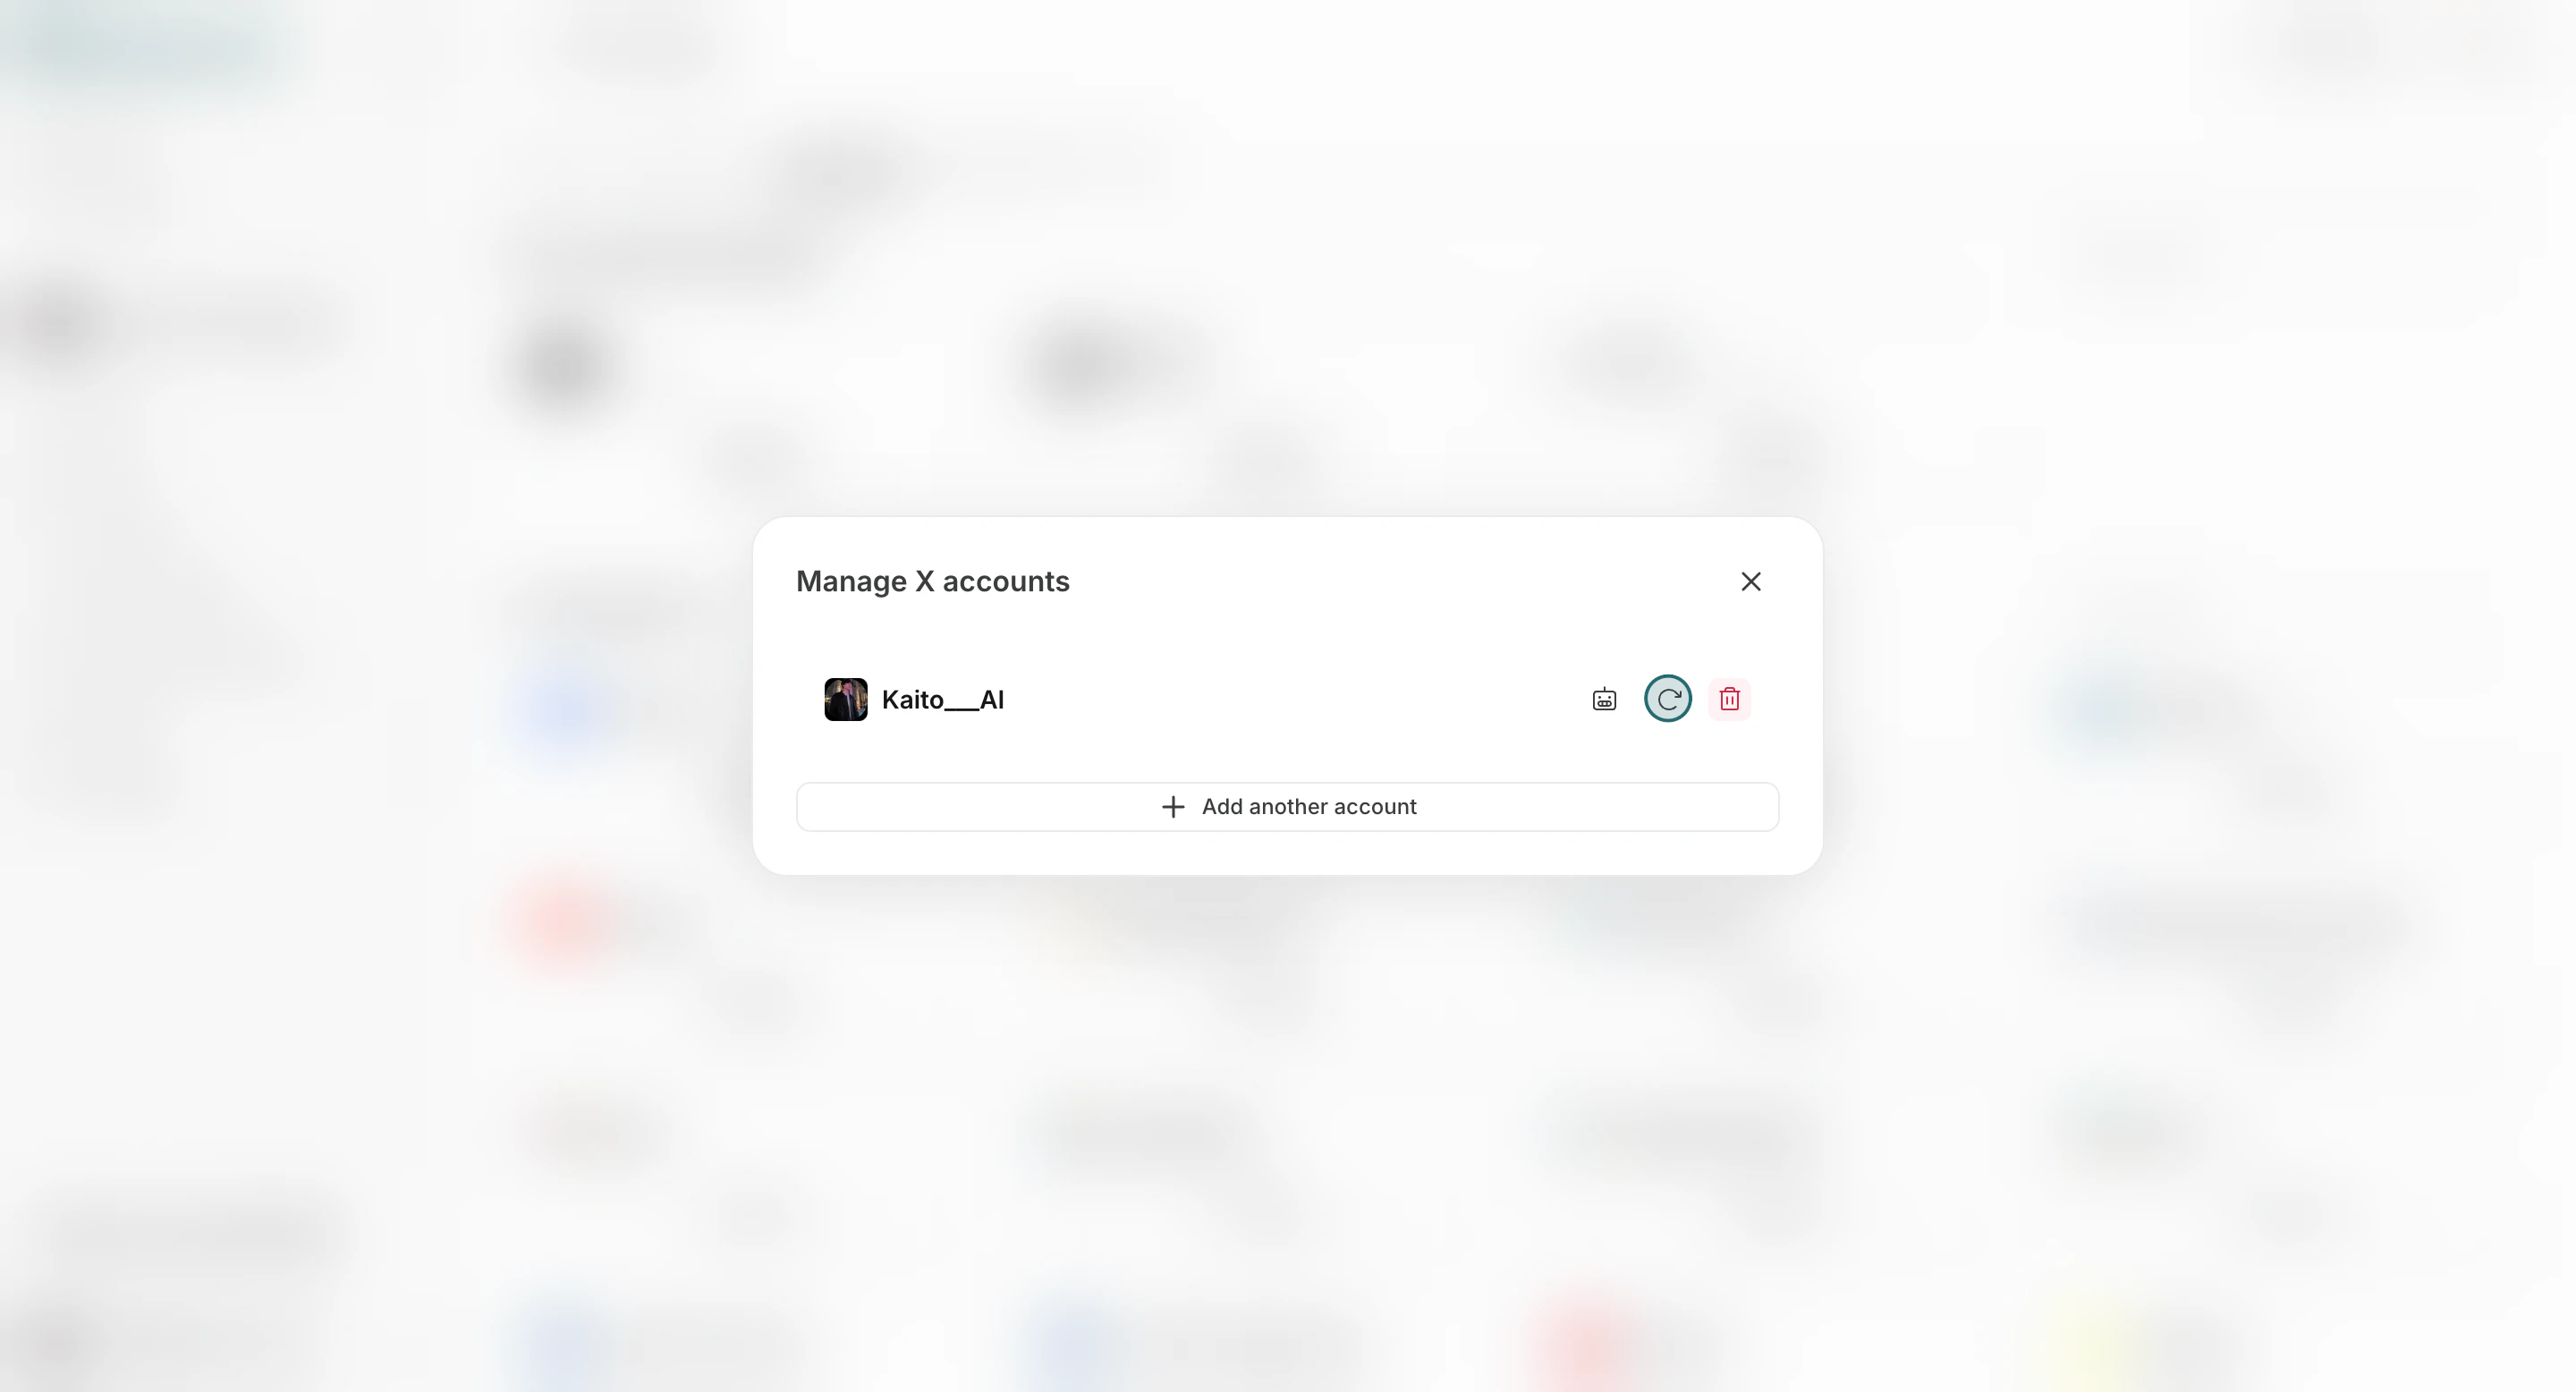
3. Remove accounts that are no longer needed.

<img src="https://mintcdn.com/agoslabstechnologiesfzco/okAbFobT9iaP0HDF/public/help-center/arcade/team-settings/integrate-apps/step-16.png?fit=max&auto=format&n=okAbFobT9iaP0HDF&q=85&s=e4089b9f967fc55d6cd6e60ef3e85067" alt="Remove a connected account from team integrations" style={{ border: '1px solid #e5e7eb', borderRadius: '8px', marginBottom: '2rem' }} width="2880" height="1556" data-path="public/help-center/arcade/team-settings/integrate-apps/step-16.png" />

## Notes

Review these notes before you proceed.

* Integration connection limits depend on your current plan.
* Team-level account connection does not automatically grant access to every Workspace or every agent until you assign it.

## Related

Use these related pages for deeper guidance.

* [Team Basics](/help-center/team/team-basics)
* [Data Control](/help-center/team/data-control)
* [Manage Agent Tools](/help-center/ai-team/manage-agent-tools)
