Overview
Workspace member management controls who can access the workspace and what each member can do.Where to find
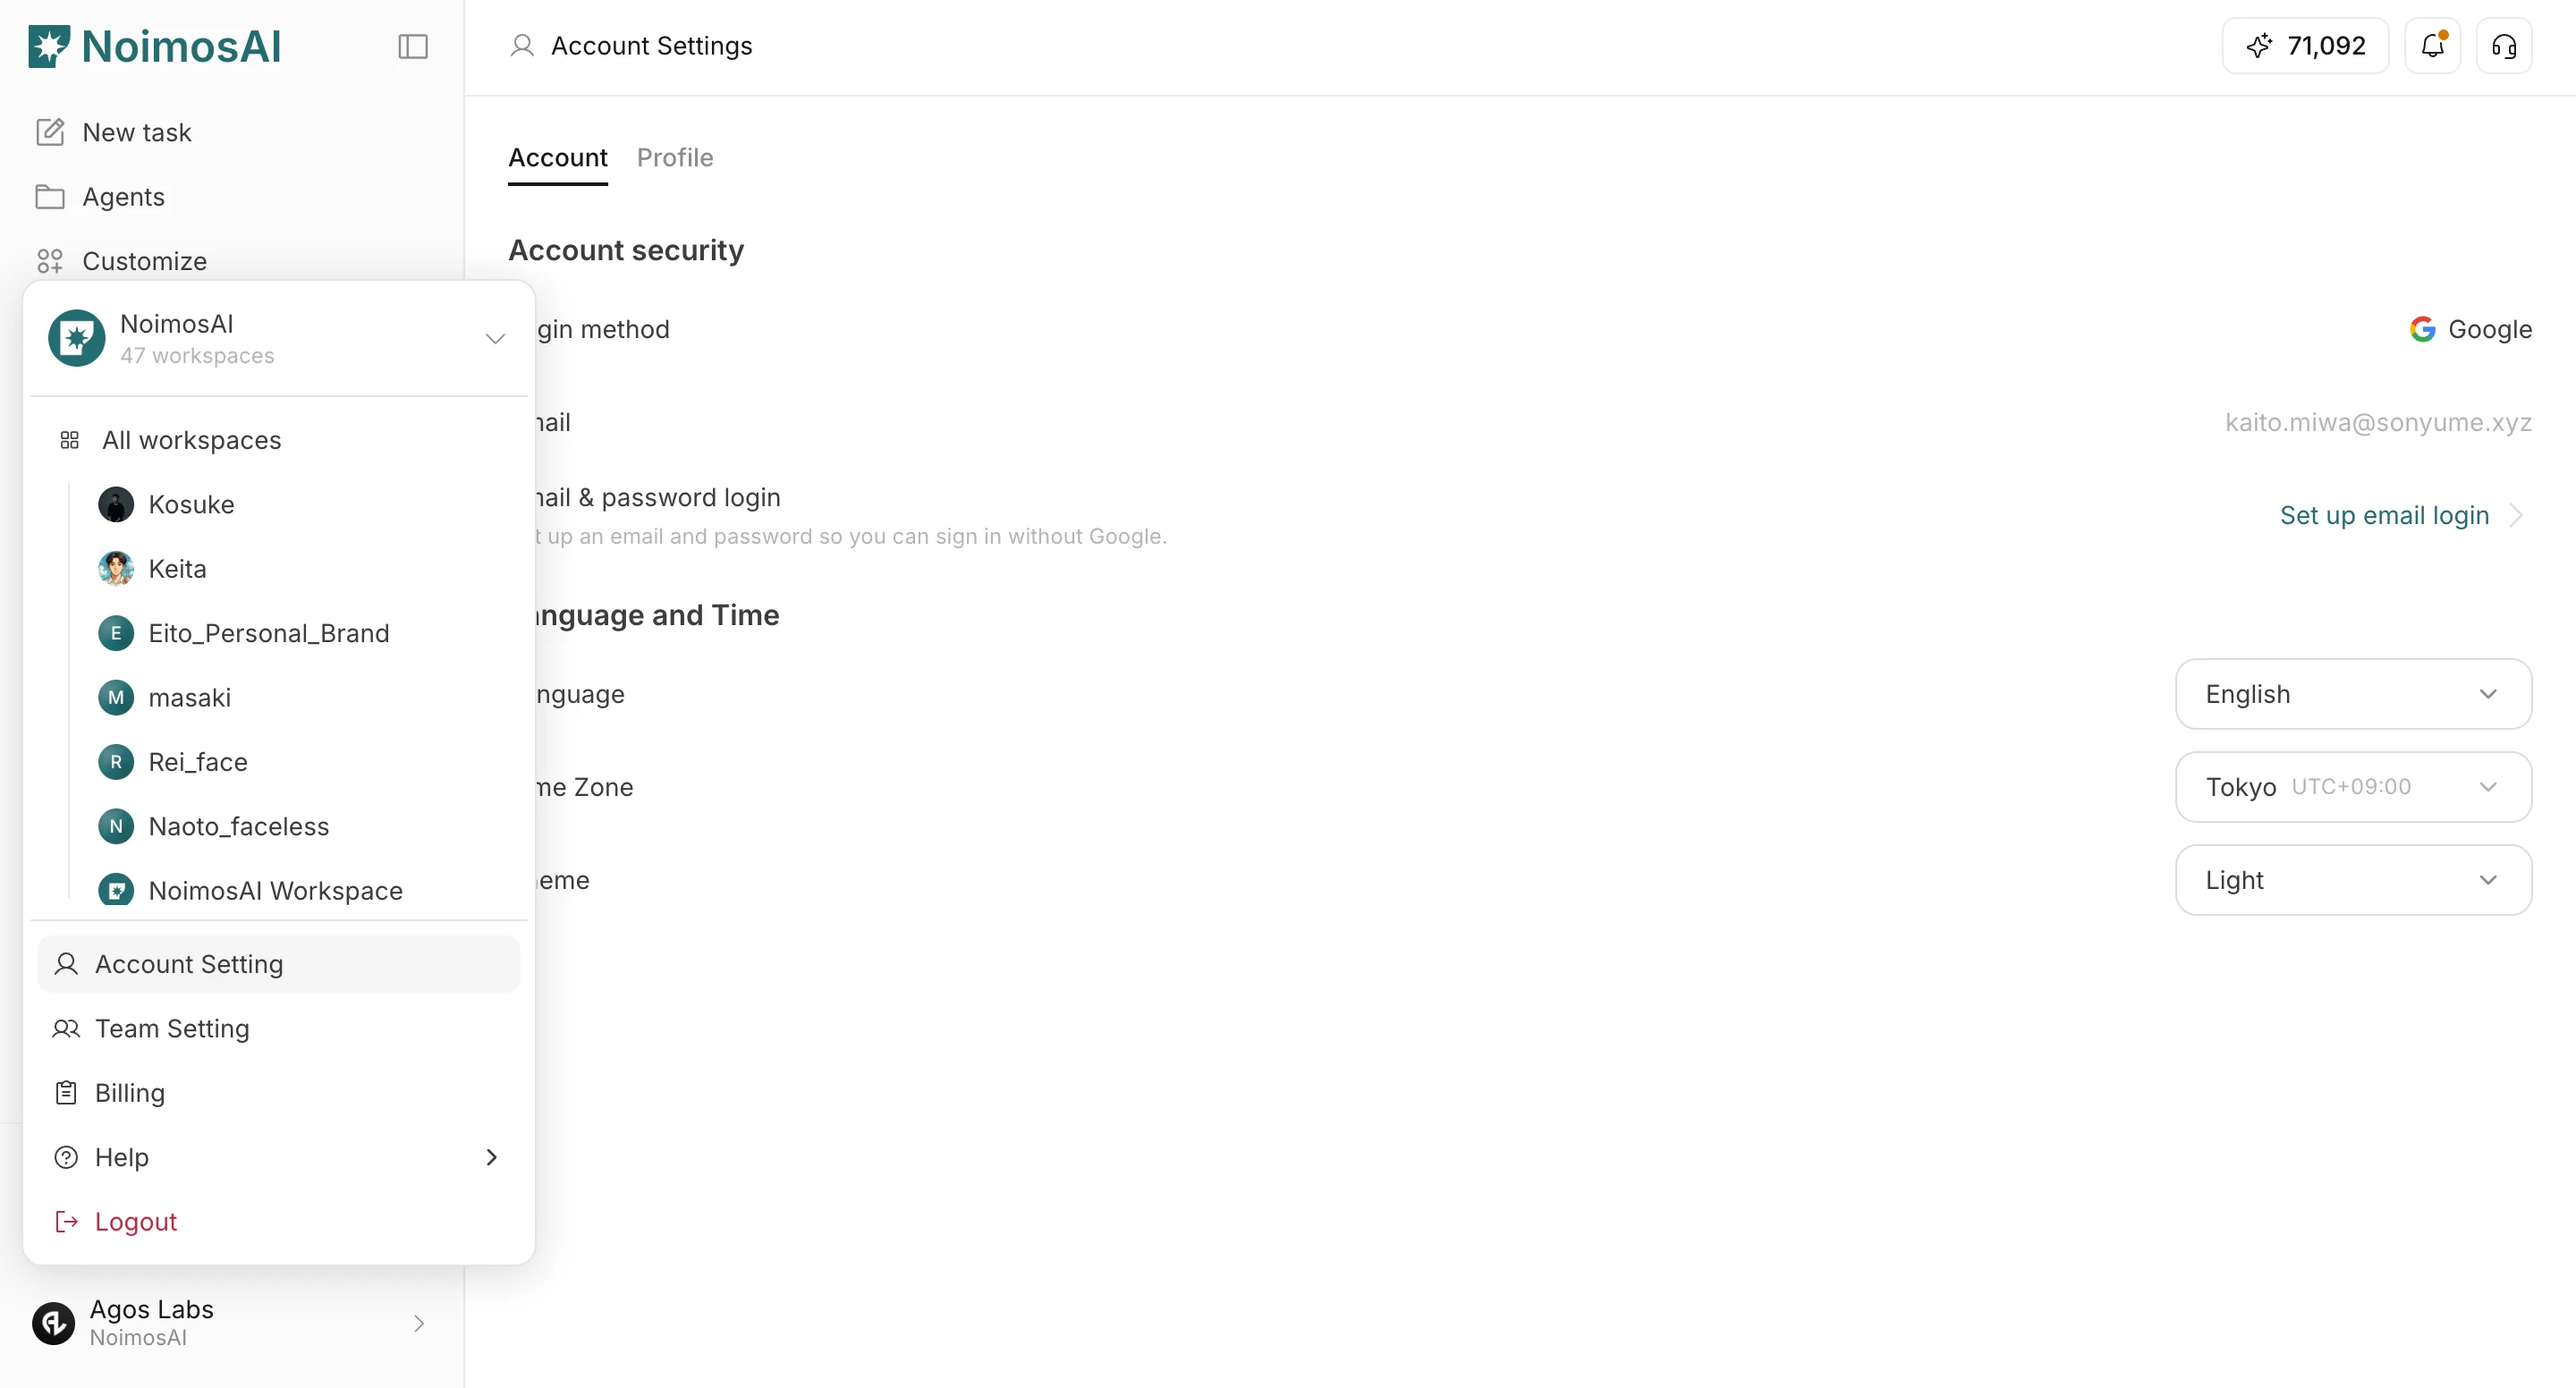
Use the following path to open this area.Workspace -> Settings -> Add membersWorkspace -> Settings -> Basic information -> Members
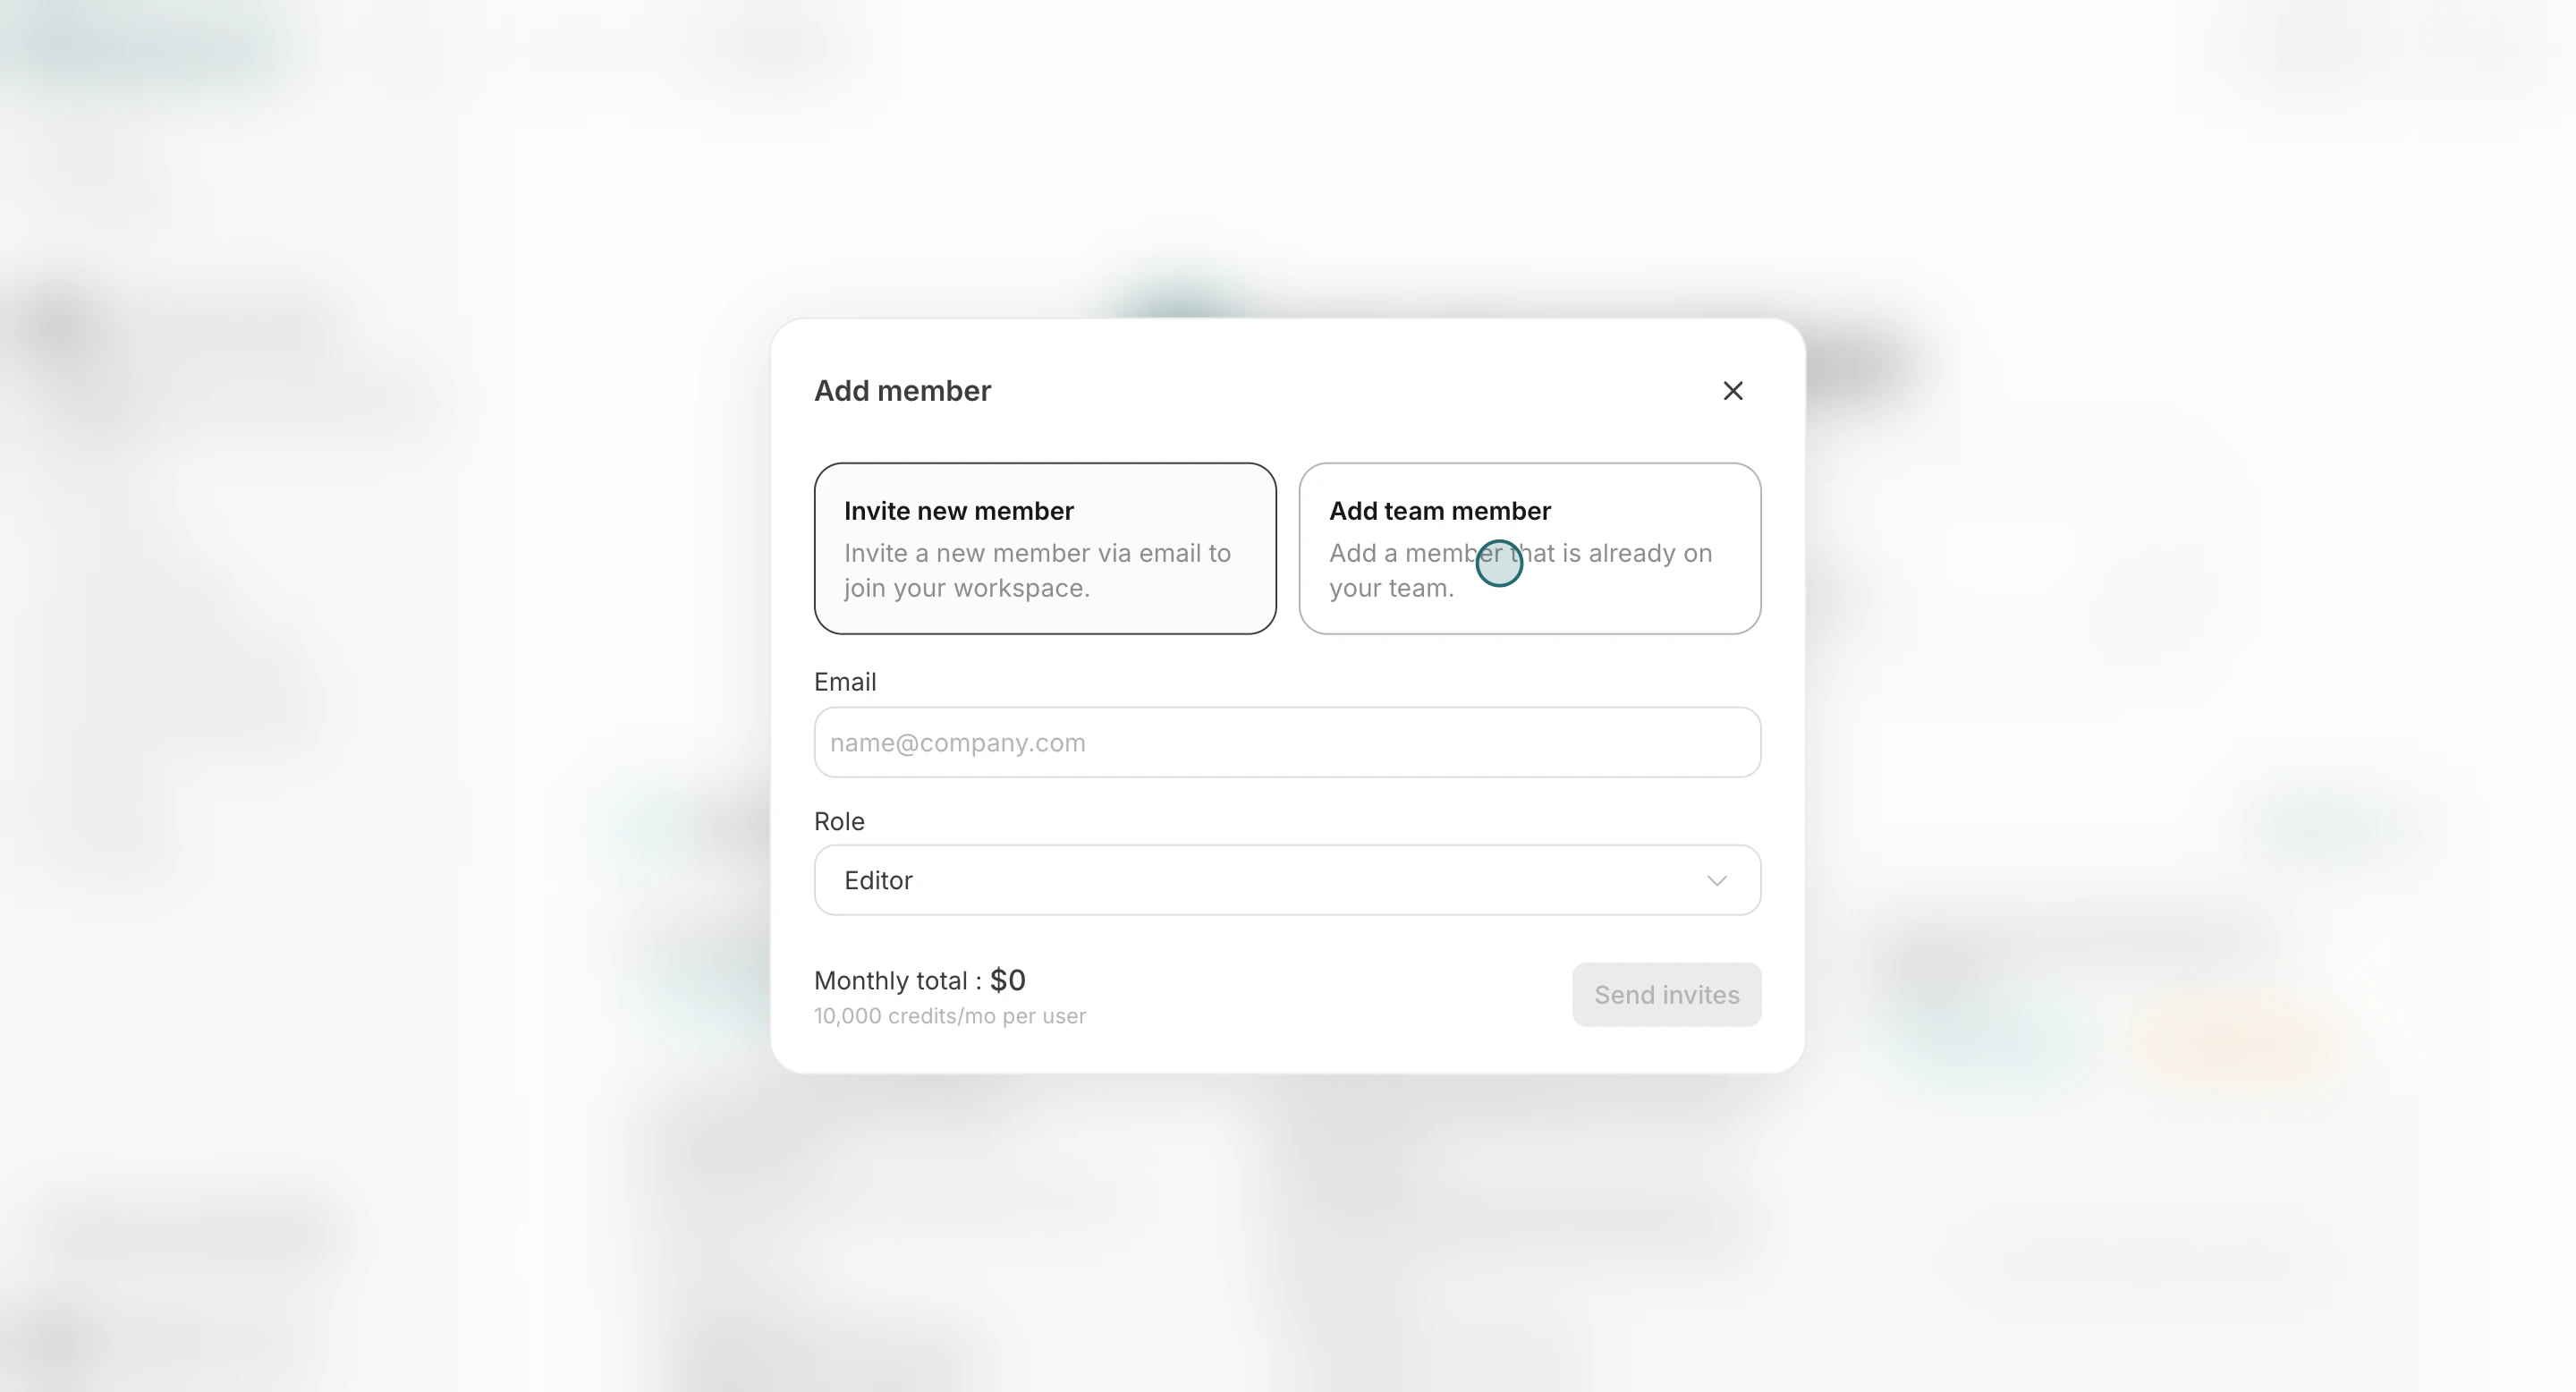
Add Members
Use this section to add members with the correct workspace role.- Open
Add members.
- Choose
Add team memberorInvite new member, then enter the email.
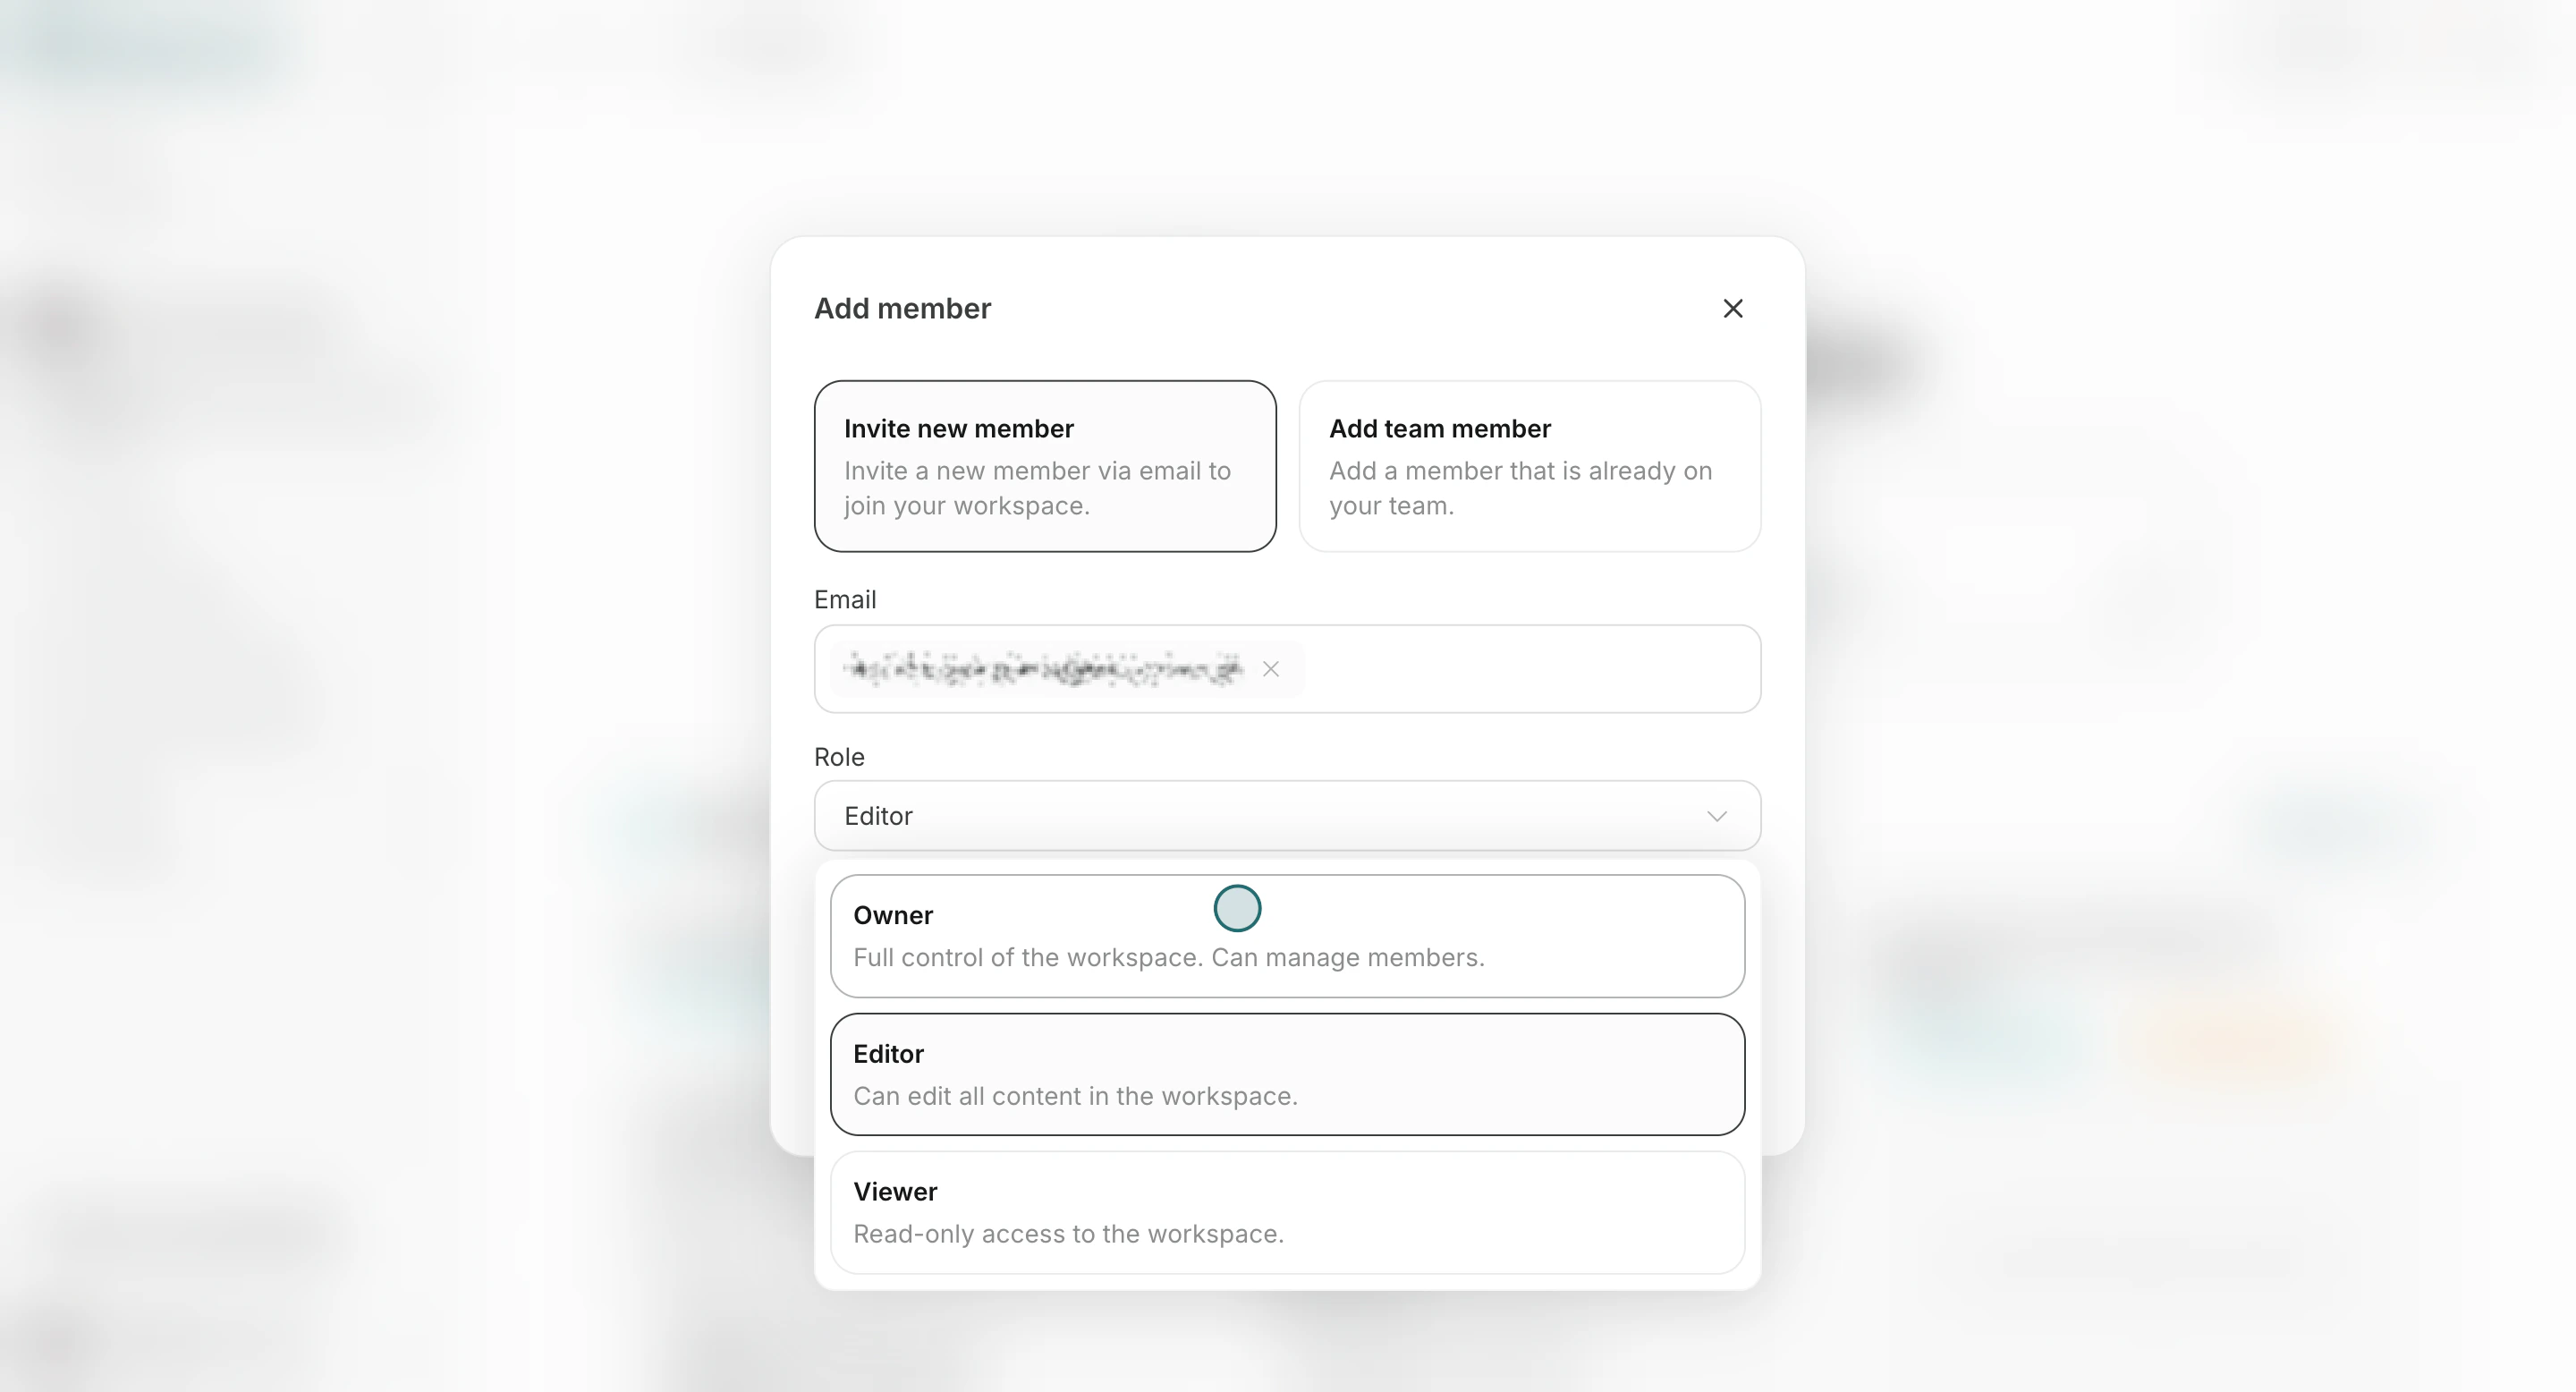
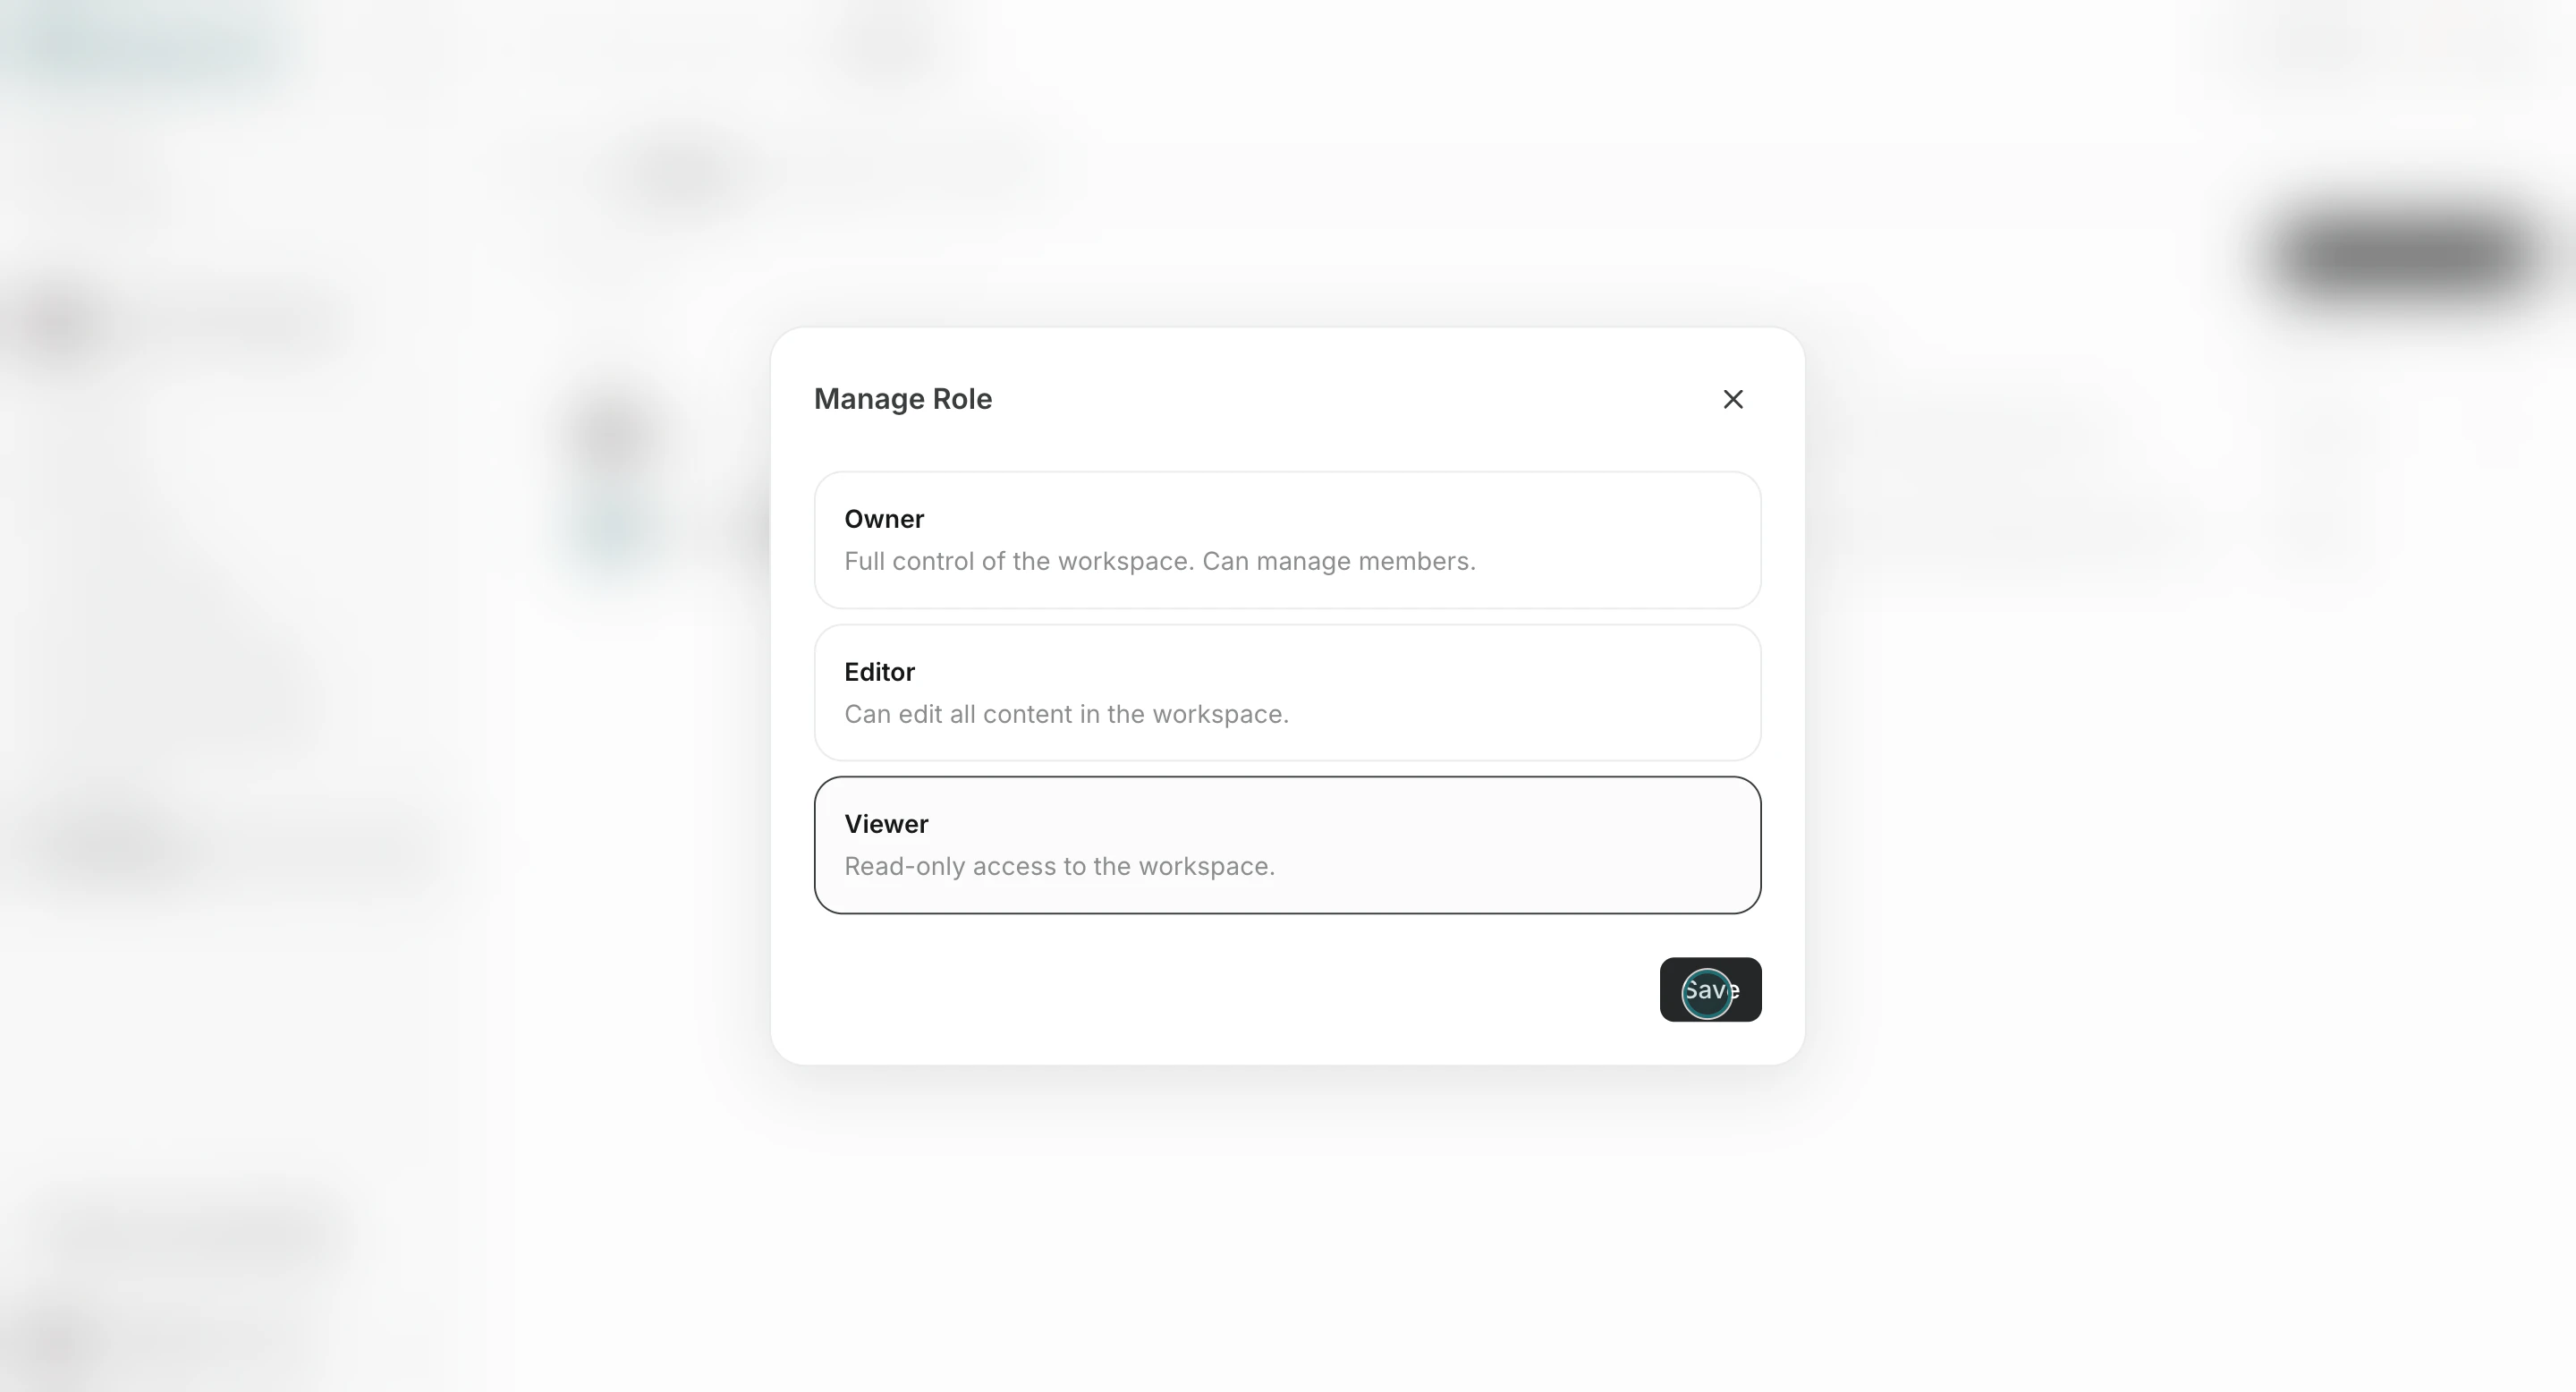
- Select a role (
Owner,Editor, orViewer).
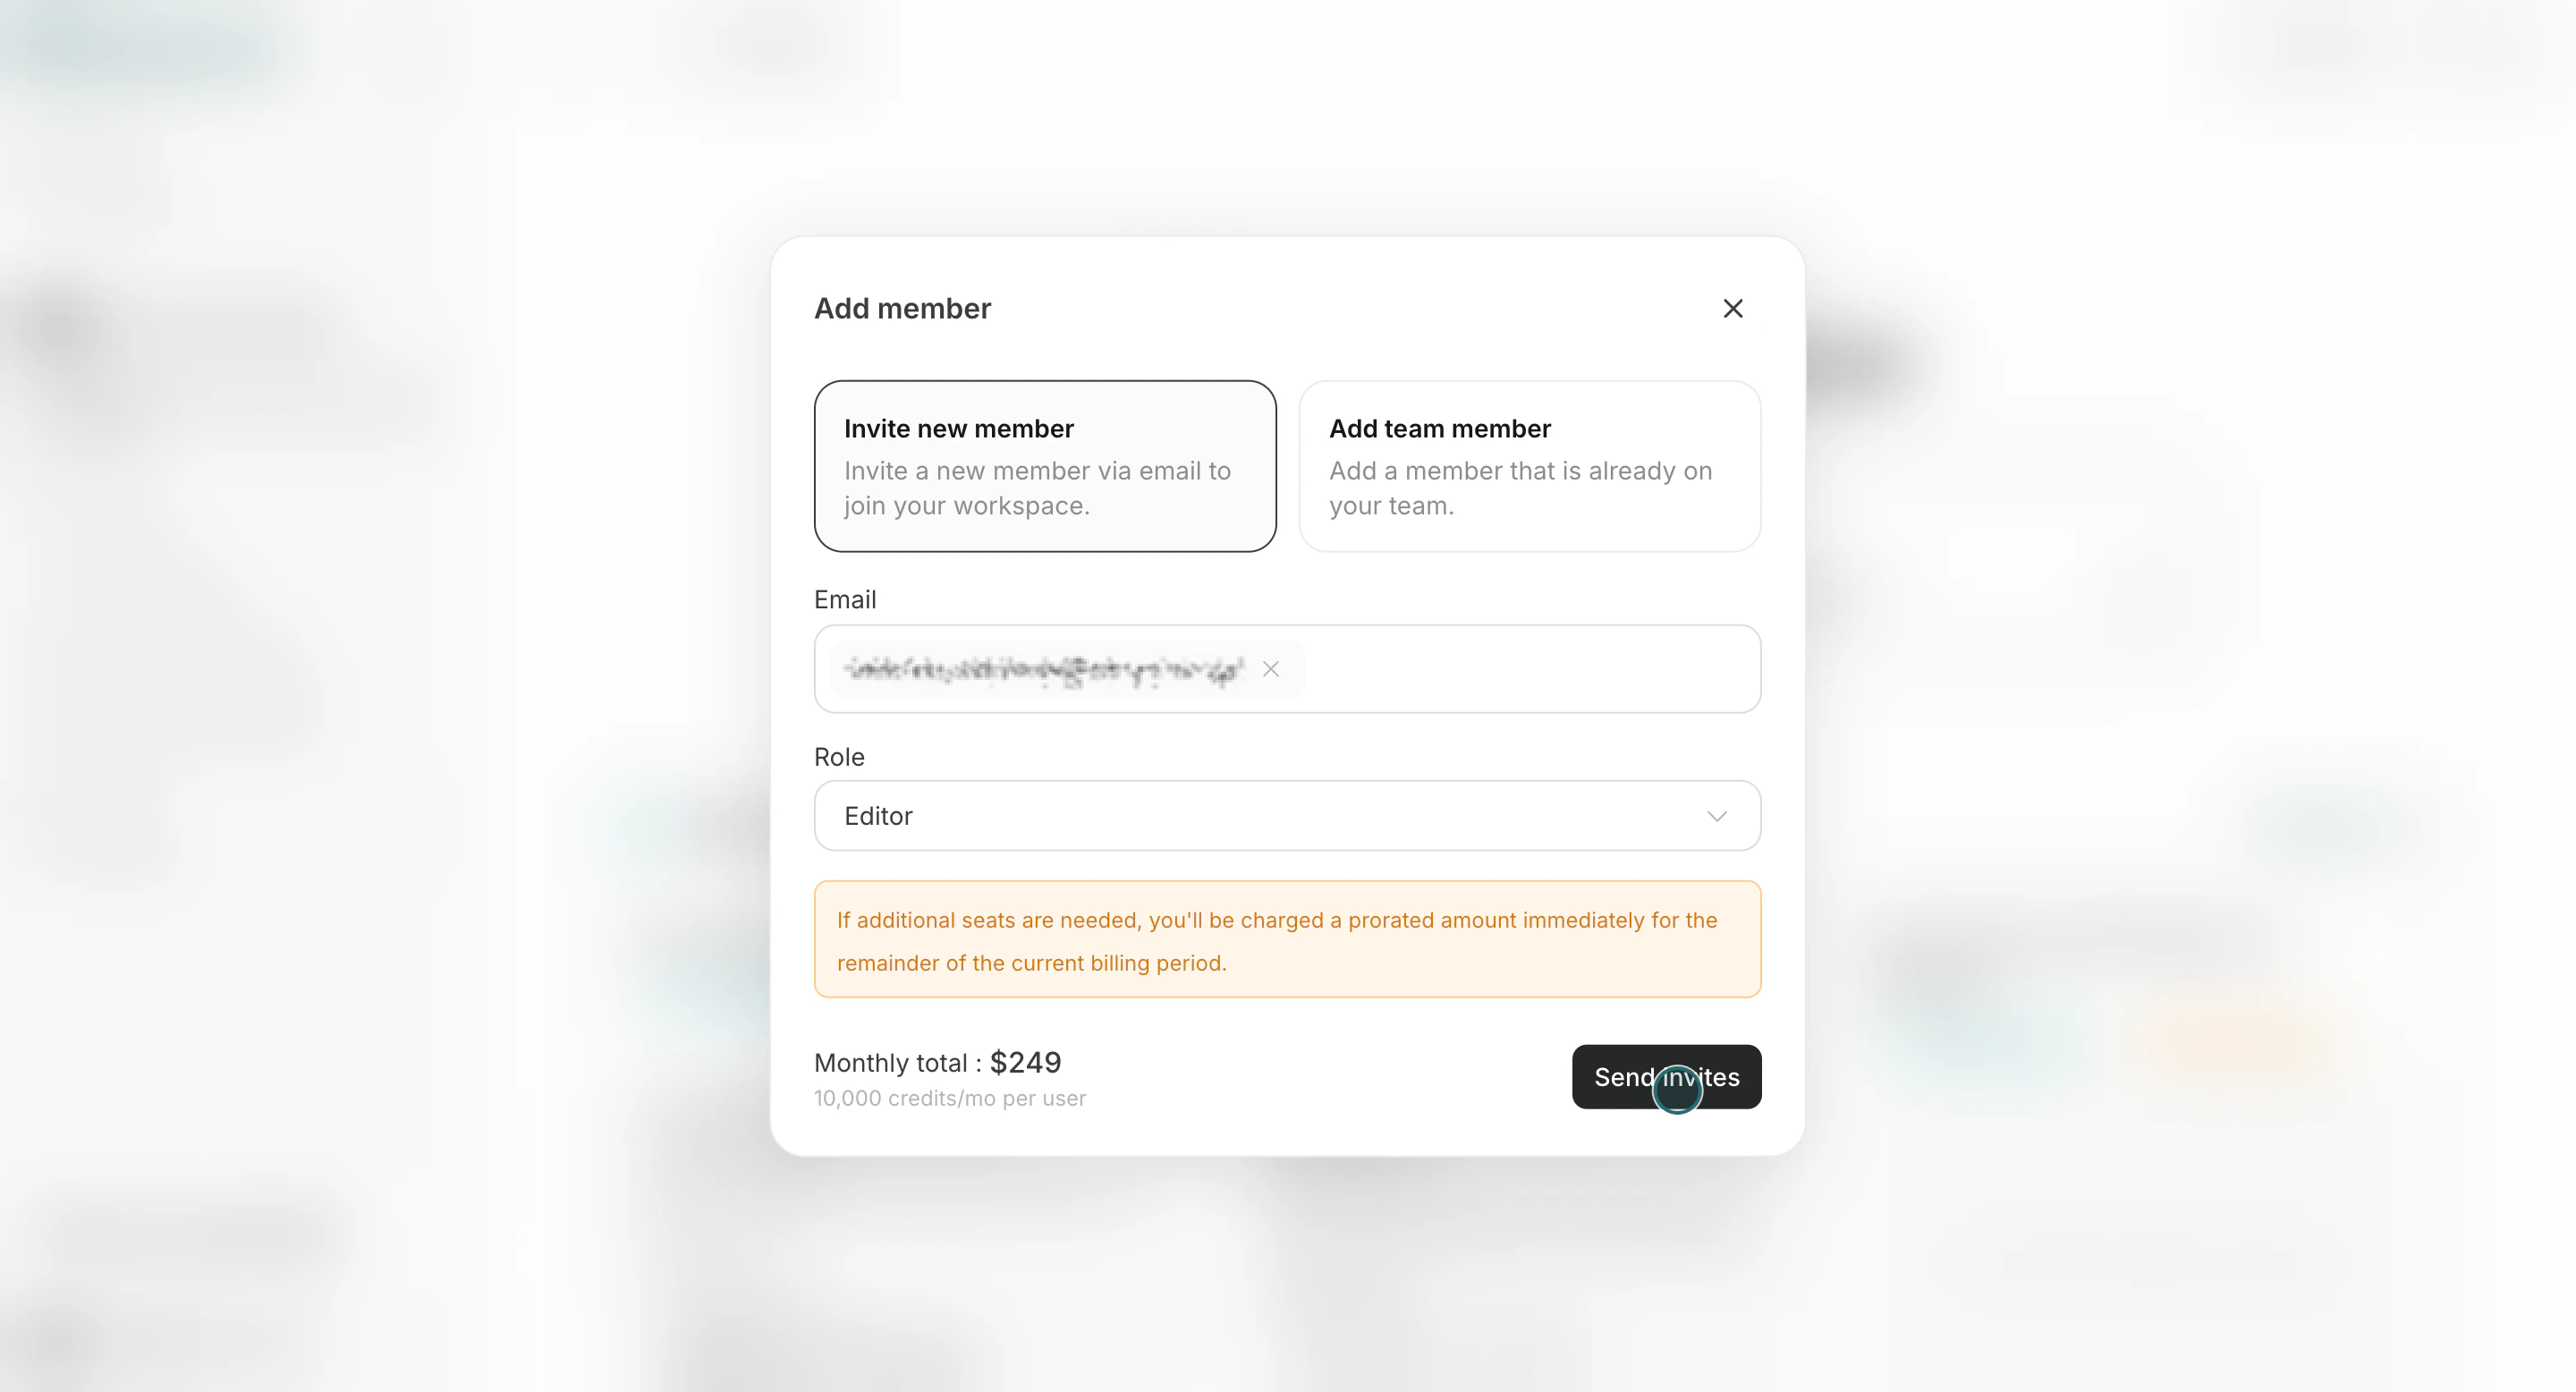
- Click
Send invites.
Owner: full control in that workspace, including inviting members.Editor: can edit workspace content and settings, but cannot invite members.Viewer: read-only access.- People invited as Workspace
EditororViewerappear asGuestat Team level.
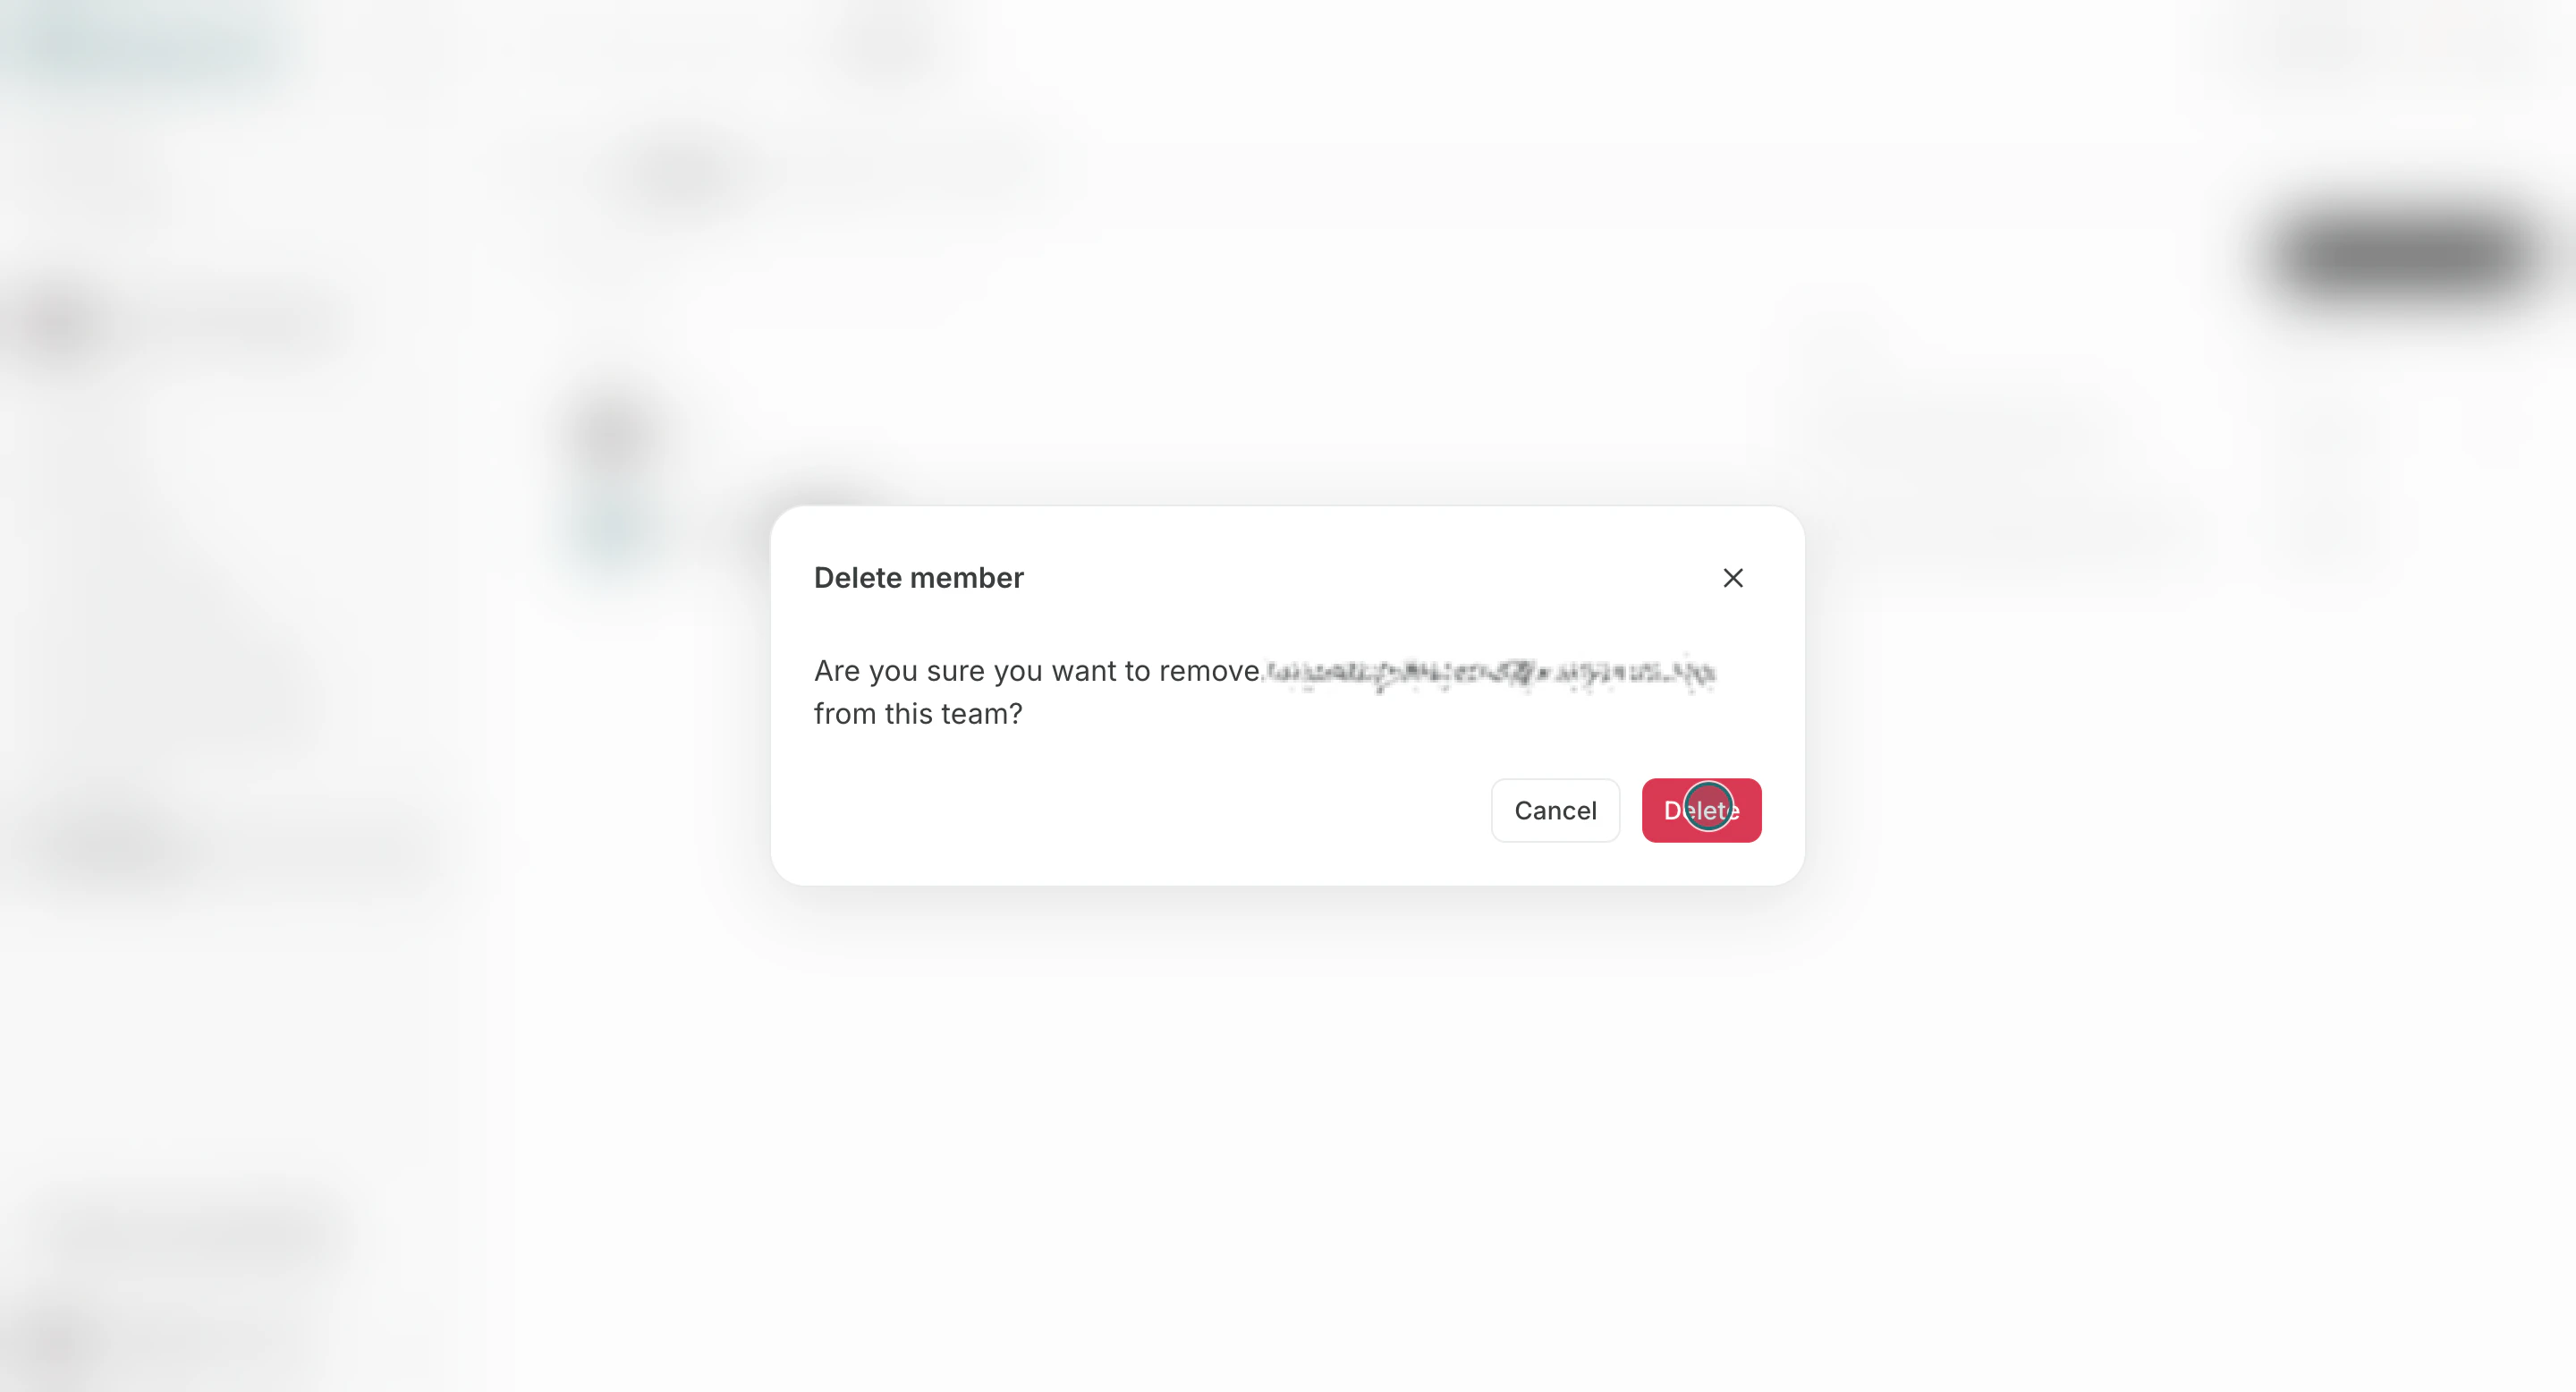
Review, Change, or Remove Members
Use this section to understand review, change, or remove members and what to confirm while completing this part.- Open the
Memberstab and select a member from the list.

- Update role or open actions to remove the member.
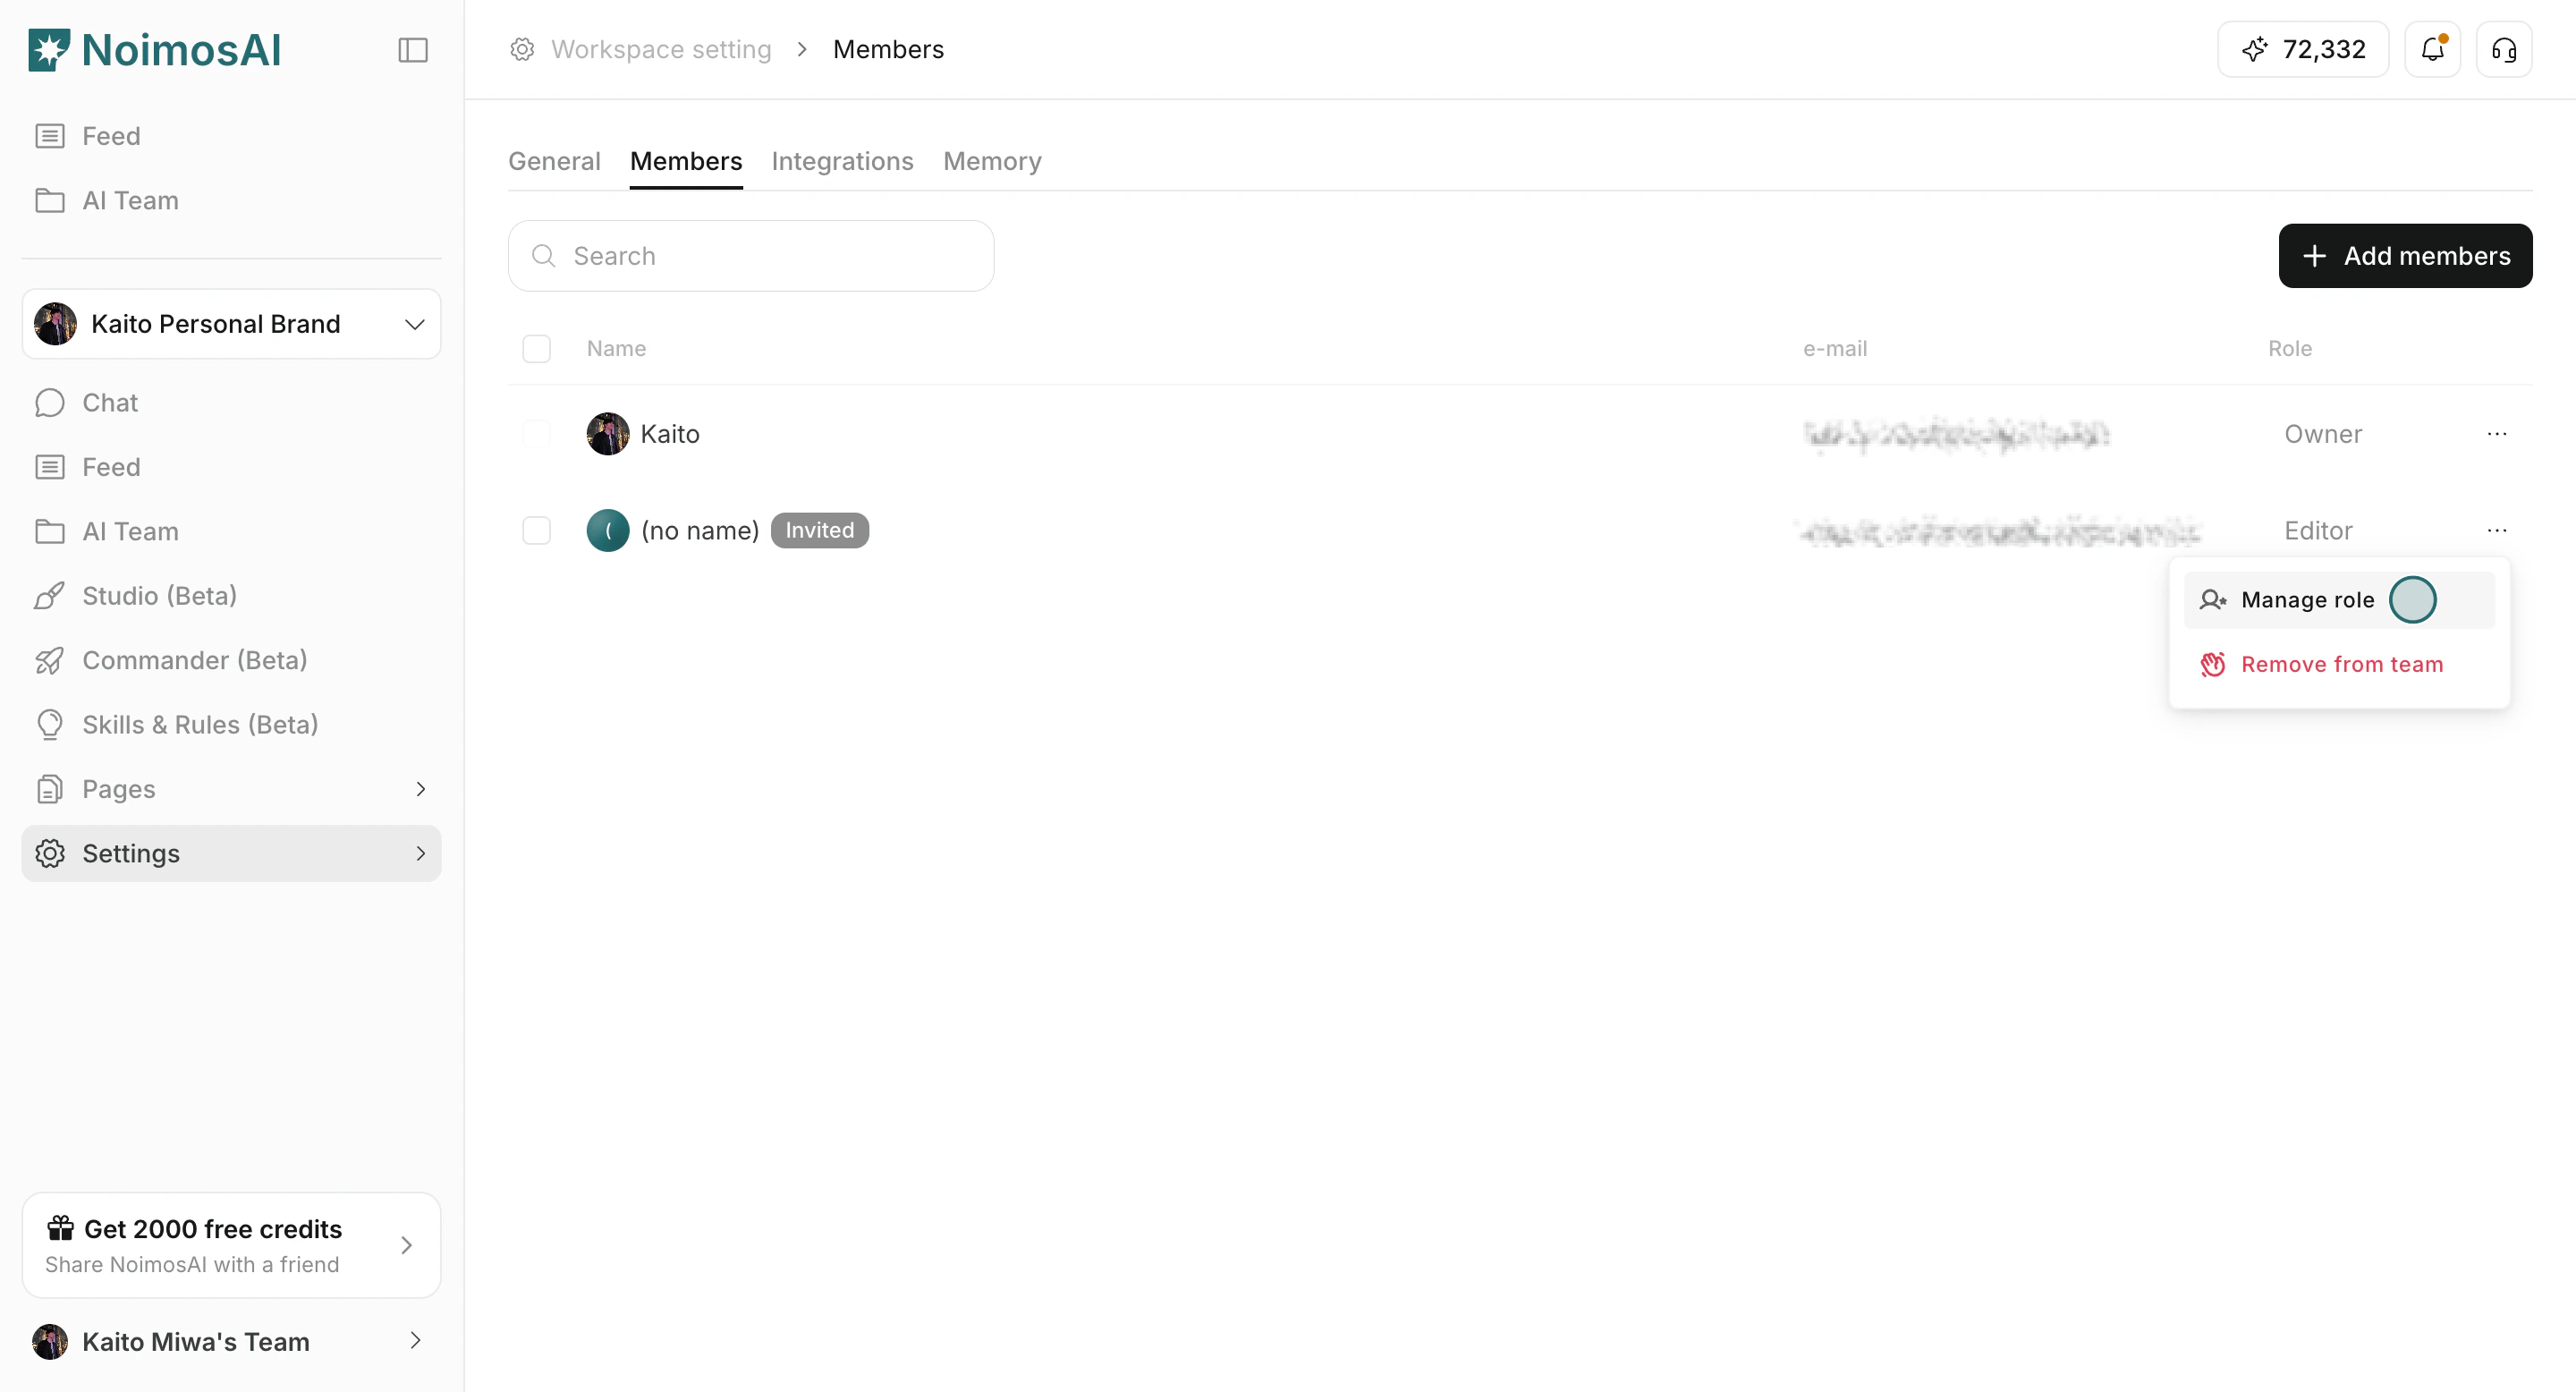
- Confirm role changes or member removals.
Notes
Review these notes before you proceed.- Workspace access requires both team membership and workspace assignment.
- If seat limit is reached, increase seats in team billing before inviting more members.
- Role changes and removals are limited to users with member-management permission (typically
Owner).